Premium Only Content

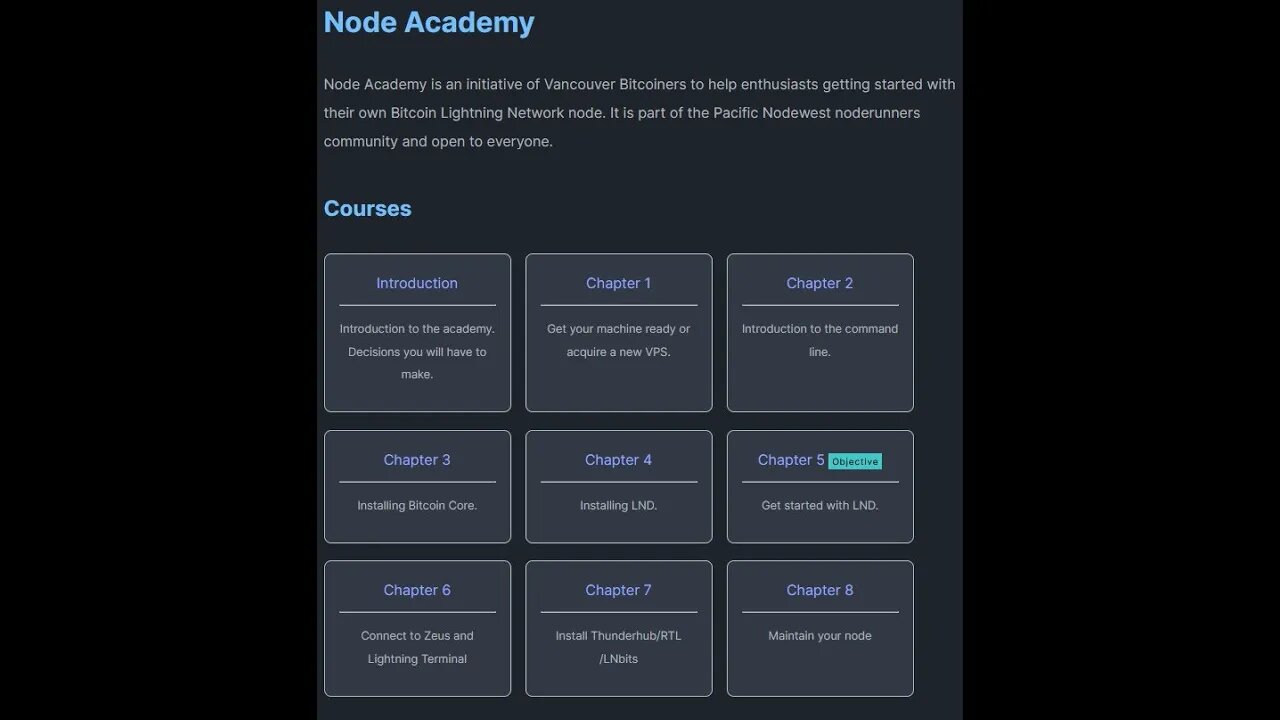
Node Academy: Chapter 1A - Setting up your own Lightning Node with your own hardware
In this lesson, we will guide you through the entire process of setting up your own Lightning Network node at home or in the office. We start by helping you select an appropriate device. This could be a used laptop, a refurbished desktop computer, a mini-PC or even a Raspberry Pi, though availability of the latter may vary.
Next, we delve into the system requirements. While the minimum requirements include 2GB of RAM, a 1 GHz quad core, and 20GB of storage, we recommend having at least 4GB of RAM, a 2 GHz six core, and a 256GB SSD for improved performance. We also stress the importance of being able to access the BIOS for installing Linux.
Moving forward, we recommend running your node on a Linux-based operating system, particularly Ubuntu or Debian. We guide you through the process of installing Ubuntu on your device using a live USB, which includes accessing the BIOS, booting from the USB, and setting up the operating system.
In the final section of the lesson, we explain how to set up SSH access to control your node from your personal computer. This involves creating an SSH key on your personal machine, installing an SSH server on your node, authorizing your SSH key, and obtaining your node’s IP address. After this, you should be able to connect to your node from your personal computer using the SSH command.
By the end of this lesson, you will be equipped with the knowledge and resources to install Ubuntu and configure SSH, setting a solid foundation for running a Lightning Network node.
-
 LIVE
LIVE
Colion Noir
2 hours agoKimber's First "True" Double Stack 1911 Isn't Just A Gun It's A Statement
542 watching -
 1:46:28
vivafrei
5 hours agoKeir Starmer Goes Full Tyrant! Canada Goes Full Gestapo! Trump Picks & MORE! Viva Frei Live
48K11 -
 LIVE
LIVE
Akademiks
3 hours agoDiddy Last Stance! Bail Hearing Live! Lil Durk Case update! Young Thug not getting back his SH*T?
5,260 watching -
 LIVE
LIVE
ThatWhiteFish (Gaming)
1 hour ago $0.94 earnedNew to the Franchise! Can we survive? Do you have rations?
381 watching -
 LIVE
LIVE
The New American
1 hour agoIs The Deep State Trying to Trigger WW3 Before Trump Takes Office? | The New American Daily
612 watching -
 51:36
51:36
PMG
14 hours ago $1.81 earned"Hannah Faulkner and Sophia Lorey | FIRST AMENDMENT VIOLATED"
11K4 -
 LIVE
LIVE
Flexarot
2 hours agoGetting The Bansho Fan & Crane Level Capped! (Dragon Ball Online Galaxy)
217 watching -
 1:17:57
Russell Brand
3 hours agoLara Logan EXPOSES the Media's Hidden Agendas & Power Plays – SF499
109K154 -
 LIVE
LIVE
checkmate7_7
8 hours ago $2.71 earnedSlammin Apex clams | !GUILDED
238 watching -
 LIVE
LIVE
RonjnJeremy
4 hours ago $3.02 earnedClassic Wow 20th Anniversary edition HC PT 2 Seemless...Orc to troll...Still Shaman
312 watching