Premium Only Content

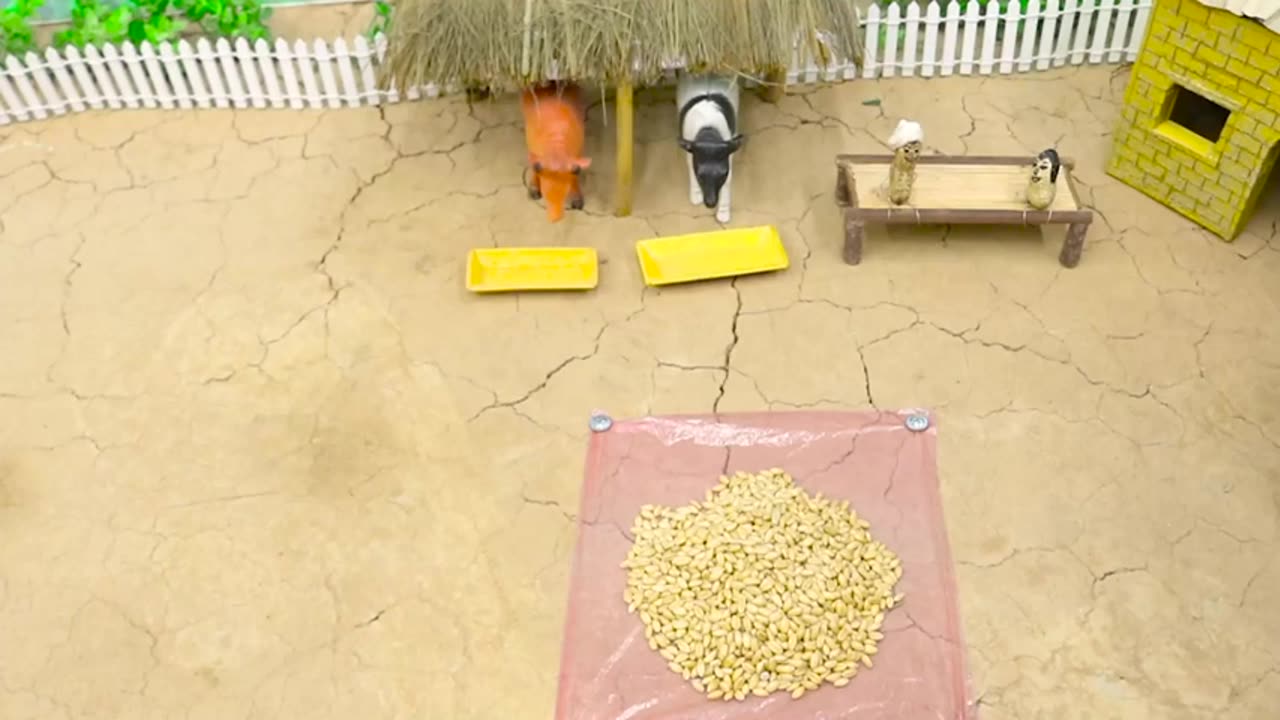
tractor mini conveyor belt wheat cleaning machine science project diy tractor
The DIY tractor mini conveyor belt wheat cleaning machine science project involves creating a small-scale wheat cleaning machine using a miniature tractor and a conveyor belt system. Here's a description of how you can make this project:
Materials needed:
Miniature tractor toy
Conveyor belt (can be purchased online or at a hobby store)
PVC pipes or wooden dowels (to act as conveyor belt rollers)
Electric motor (small)
Battery holder (with batteries)
Switch
Hot glue gun
Scissors
Wheat grains (for testing)
Instructions:
Prepare the tractor: Find a small tractor toy that is compatible in size with the conveyor belt. Clean and dry the tractor toy to ensure it's ready for the project.
Create the conveyor belt system: Lay out the conveyor belt on a flat surface and cut it to the desired length. The conveyor belt should be long enough to span across the tractor, with extra length for the grains to fall off at the end. Attach PVC pipes or wooden dowels as rollers along the edges of the conveyor belt using hot glue. Make sure the rollers are evenly spaced and secured.
Attach the conveyor belt to the tractor: Use a hot glue gun to attach the conveyor belt to the tractor. Position the conveyor belt along the top of the tractor's body, leaving enough space for the wheat grains to fall off at the end. Secure the conveyor belt to the tractor using hot glue, ensuring that it is aligned straight and centered.
Install the motor and battery holder: Attach a small electric motor to the tractor using hot glue. Position the motor so that the shaft (the rotating part of the motor) is aligned with the conveyor belt. Attach a battery holder with batteries to the tractor using hot glue. Connect the motor to the battery holder using wires, and attach a switch between the battery holder and the motor. This will allow you to turn the conveyor belt on and off.
Test the wheat cleaning machine: Insert batteries into the battery holder and turn on the switch. The motor should start running, causing the conveyor belt to move. Place wheat grains at the beginning of the conveyor belt, and watch as they move along the conveyor belt. The wheat grains will be cleaned as they move, and any debris or impurities will fall off the end of the conveyor belt.
Fine-tune and decorate: Adjust the speed of the conveyor belt by adjusting the motor speed or conveyor belt tension if needed to ensure optimal wheat cleaning. You can also decorate the tractor and conveyor belt with paint or other materials to make your DIY wheat cleaning machine visually appealing.
Safety precautions: Always be cautious when working with hot glue guns and small electric motors. Make sure to use them in a well-ventilated area and follow all safety instructions provided by the manufacturer. Do not operate the wheat cleaning machine near wheat or other food sources, and supervise children closely during the project.
With this DIY tractor mini conveyor belt wheat cleaning machine science project, you can learn about basic principles of conveyor belt systems and wheat cleaning processes, and explore the concept of agricultural machinery. Enjoy building your own mini wheat cleaning machine with a tractor!
-
 2:08:53
vivafrei
11 hours agoEp. 252: Liberals DISQUALIFY Candidate from Race! DOGE Wins & Loses; Rumble Sues BRAZIL! & MORE!
87.9K104 -
 LIVE
LIVE
Josh Pate's College Football Show
2 hours ago $0.32 earnedCFB’s Top 12 Programs | TV Executives & Our Sport | USC Changes Coming | Early Championship Picks
258 watching -
 LIVE
LIVE
Vigilant News Network
6 hours agoUK Government BUSTED in Secret Plot to Extract Your Data | Media Blackout
1,487 watching -
 1:03:32
Winston Marshall
3 days ago"War On Children!" The DEMISE Of The West Starts With Schools - Katharine Birbalsingh
62K60 -
 48:02
48:02
Survive History
9 hours ago $1.67 earnedCould You Survive as a Sharpshooter in the Napoleonic Wars?
8.79K1 -
 12:03
12:03
Space Ice
9 hours agoSteven Seagal's China Salesman - Mike Tyson Knocks Him Out - Worst Movie Ever
13.4K13 -
 11:37
11:37
Degenerate Jay
9 hours agoJames Bond Needs Quality Over Quantity From Amazon
12.5K2 -
 15:23
15:23
Misha Petrov
9 hours agoTrad Wives & Girl Bosses Go to WAR!
14K31 -
 2:03:11
TheDozenPodcast
7 hours agoFootball villain fighting the state: Joey Barton
15.4K -
 LIVE
LIVE
Scottish Viking Gaming
10 hours ago💚Rumble :|: Sunday Funday :|: Smash the Blerps and Vape the Terpes
610 watching