Premium Only Content

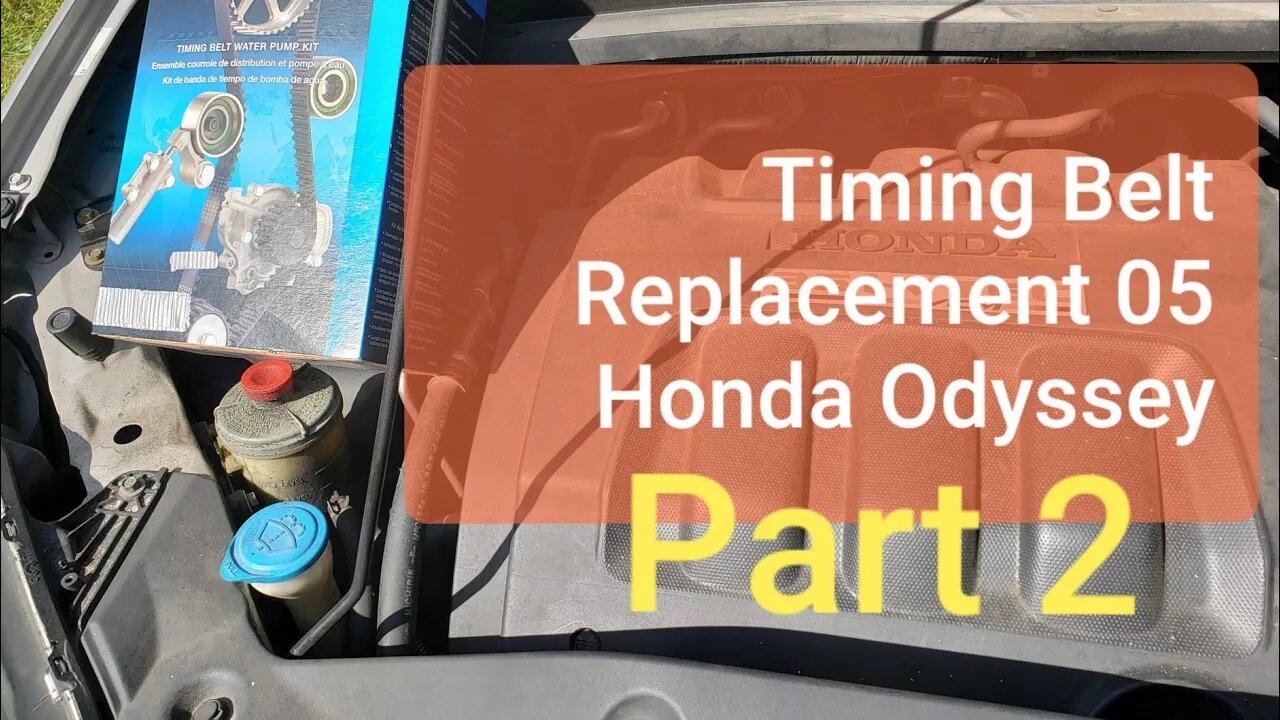
Timing Belt Replacement 05 Honda Odyssey: Part 2
This is part 2 of a two part series on the timing belt replacement on an 05 Honda Odyssey. The video starts with all the timing components removed and goes over how to install new timing components. You will notice in this video I make sure that the timing marks are still lined up after every move I make. This is extremely important especially after the belt has been installed and the crank shaft has been rotated 720 degrees. If the timing marks are not dead on you must start over and correct the concern. I am not sure if this engine is an interference engine. If it is, valve damage and potentially other damage to the engine can be occur if the timing is not correct.
Note: at about the 20 minute mark I have a note in text. I have a typo in it. The note is supposed to read "Once the mount and attaching brackets are installed then the floor jack and jack stand can be removed from underneath the engine. (That is JUST the engine. The vehicle will still need to be supported until the wheel is put back on.)"
Of course once the wheel is put back on properly then the remaining jack stands can be removed from under the vehicle.
Here is a link to "Timing Belt Replacement 05 Honda Odyssey: Part 1". Link: https://youtu.be/SPu_PU0KFcc
Here is a link showing the water pump replacement on an 05 Honda Odyssey 3.5L. It would be my strong suggestion to replace this component while the vehicle is apart as 1, its already apart and 2, there is a good chance that a link could have been caused by removing the engine mount bracket bolts. The pump potentially may not seal up after this. Link: https://youtu.be/Yafvxtd9jJQ
Here is a link to a video showing how to bleed and fill a cooling system using a vacuum filler. (this is the best way to bleed and fill a cooling system in my opinion)
https://youtu.be/OGuXoRV5xg4
Here is a link to a video showing how to collapse and reset the timing belt tensioner:
https://youtu.be/3trYGAoE458
Here is a link for the "special tool" used to tighten up the crank bolt. Its not actually that expensive. Now I wish I would have gotten one before doing the video. Oh well. https://www.amazon.com/Capri-Tools-21000-Pulley-Removal/dp/B00I3RLMIG
There is also a fat socket that you can buy to go into the center of that tool. It will probably show up down at the bottom of that page linked above. This socket may help in not rounding off the 19 milometer bolt head and help to make doing things a little more easy for you.
By the way, Amazon nor the makers of the tool shown in the link above are a sponsor of Barbour's Auto Help. Its just a helpful link.
Here is a link to a video showing how to use this tool. https://youtu.be/sddl2EbF10M (I don't suggest using an impact, but using hand tools. i.e. a torque wrench for tightening.)
Again Eric The Car Guy and Barbours Auto Help are not affiliated. (I wish) Just a helpful link.
DISCLAIMER
Barbour's Auto Help is not responsible for any damage or personal injury incurred in the process of performing any auto repairs done by you the viewer. Automotive repair is extremely dangerous. Repair your vehicle at your own risk. It is the viewers responsibility to verify all information and procedures as outlined in YOUR REPAIR MANUAL AND OWNERS MANUAL FOR YOUR VEHICLE. Owning and using a repair manual suited for your vehicle is essential for correctly and safely performing ANY repair to your vehicle. Always wear safety glasses and heed all instructions for use applicable to any piece of equipment you may use. Due to circumstances out of the control of Barbours Auto Help, Barbours Auto Help makes no guaranty that by the use of the information given in this video a quality repair will be made. Barbour'sAutoHelp makes no guaranty that the information provided is totally complete, syncronized and accurate. Verify everything using an appropriate repair manual.
Repair your vehicle at your own risk! Barbour's auto help does not guaranty a proper repair using these techniques.
Some information in this video was outlined in an instruction packet that came with the parts I purchased for this vehicle. The timing component kit used in the video is a Dayco kit. (Dayco not a sponsor.)
-
 LIVE
LIVE
Matt Kohrs
9 hours agoMAX DEGEN TILT!!! (New Highs Incoming!) || The MK Show
2,174 watching -
 LIVE
LIVE
Wendy Bell Radio
5 hours agoDOGE Just Ended The Deep State
15,381 watching -
 34:23
34:23
BonginoReport
2 hours agoMedia Exposed as Government-Funded Propaganda Machine (Ep.134) - 02/06/2025
19.2K51 -
 LIVE
LIVE
Vigilant News Network
15 hours agoThe Most Devastating COVID Jab Report So Far | The Daily Dose
1,225 watching -
 1:29:45
Game On!
15 hours ago $3.08 earnedPresident Trump makes NFL HISTORY! Make the Super Bowl Great Again!
13K2 -
 9:17
9:17
Dr. Nick Zyrowski
1 day ago4 Steps To Lose Fat Naturally Without Exercise
38.1K5 -
 13:10
13:10
This Bahamian Gyal
14 hours agoLooking For A Job in 2025: 10 RED FLAGS To Watch Out For
23.8K6 -
 17:41
17:41
IsaacButterfield
1 day ago $2.27 earnedInsane Woke TikTok Returns Crazier Than Ever!!
16K11 -
 8:21
8:21
Mally_Mouse
13 hours agoPresident Trump - Week #2
12.3K18 -
 5:23
5:23
BIG NEM
14 hours agoWhat Is Jollof Rice? West Africans Explain the Magic Behind It!
9.4K5