Premium Only Content

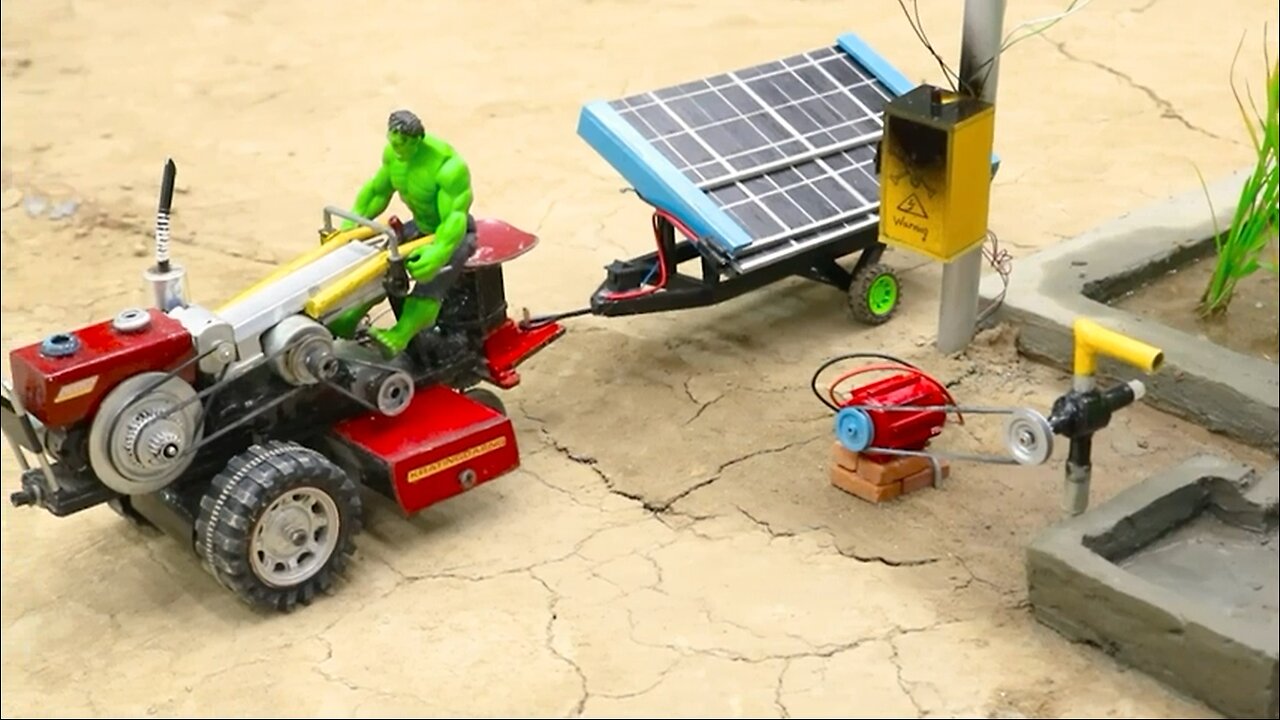
tractor making mini solar panel water pump science project diy tractor
Building a mini solar panel water pump DIY tractor for a science project can be an exciting and educational endeavor. Here's a general overview of the steps you might need to take:
Materials needed:
Mini tractor components (e.g., frame, wheels, axle, steering system, etc.)
Solar panels (appropriate size and capacity for powering a water pump)
Water pump (suitable for your project requirements)
Battery or energy storage system
Solar charge controller
Wiring and connectors
Mounting brackets or hardware for solar panels
Cutting and welding tools
Bearings, bolts, nuts, and other hardware
Safety equipment (e.g., gloves, goggles, etc.)
Step 1: Design and Plan
Determine the size and capacity of the tractor components based on the desired size and performance of your mini tractor. Consider the power output of the solar panels and the water pump you're using, and design a frame and layout that can accommodate both. Create a detailed plan for assembling the tractor components and integrating the solar panels and water pump system.
Step 2: Prepare the Frame
Create a frame for your mini tractor using metal or steel tubing. Cut and weld the pieces together according to your design plan to create a sturdy and stable structure that can support the weight of the tractor components, solar panels, and water pump system. Ensure that the frame is level and properly aligned.
Step 3: Install the Tractor Components
Mount the wheels, axle, steering system, and other tractor components onto the frame according to your design plan. Ensure that they are properly aligned and securely attached to the frame. This may involve welding or bolting the components in place.
Step 4: Install Solar Panels
Mount the solar panels onto the tractor frame using appropriate mounting brackets or hardware. Position the solar panels in a location that receives maximum sunlight exposure for optimal solar power generation. Connect the solar panels to a solar charge controller, which will regulate the charging of the battery or energy storage system.
Step 5: Install Water Pump and Battery
Install the water pump onto the tractor, connecting it to the appropriate plumbing system. Install the battery or energy storage system onto the tractor, connecting it to the solar charge controller and the water pump. Ensure that all connections are properly wired and securely attached.
Step 6: Test and Adjust
Expose the solar panels to sunlight and test the tractor's performance. Check if the solar panels are generating enough power to charge the battery or energy storage system, and if the water pump is operating efficiently. Adjust the system as needed to optimize its performance.
Step 7: Finalize and Fine-tune
Once you have tested and adjusted the tractor, finalize the installation by securing all bolts, nuts, and fasteners. Fine-tune the tractor as needed to ensure that it is running smoothly and efficiently.
Note: Building a mini solar panel water pump DIY tractor requires technical knowledge and skills. It's recommended to seek guidance from an experienced adult or professional, especially when working with solar panels, electrical components, and water pump systems. Also, prioritize safety throughout the entire project, wear appropriate safety equipment, and follow manufacturer's instructions for all components used.
-
 21:06
21:06
BlackDiamondGunsandGear
6 hours agoPSA Micro Dagger Self-Destructs During Shooting! What Happened…
11K5 -
 6:27:09
Right Side Broadcasting Network
5 days agoLIVE REPLAY: RSBN Pre-Inauguration Coverage: Day Three in Washington D.C. - 1/18/25
247K56 -
 25:09
25:09
MYLUNCHBREAK CHANNEL PAGE
11 hours agoOff Limits to the Public - Pt 2
50.8K42 -
 1:36:11
Tucker Carlson
1 day agoSean Davis: Trump Shooting Update, & the Real Reason Congress Refuses to Investigate
334K404 -
 5:13
5:13
Russell Brand
2 days agoHost GRILLS Pzizer CEO Over Vaccine Efficacy
118K245 -
 14:53
14:53
Stephen Gardner
7 hours ago🔥Alex Jones WARNS Trump not to DEFAULT on THIS!!
52.9K234 -
 31:54
31:54
The Why Files
5 days agoThe Quantum Apocalypse: All Your Secrets Revealed
112K59 -
 7:05:17
Sgt Wilky Plays
10 hours agoSaturday Hangout and Games
65.2K4 -
 8:23:23
DeadMan88
11 hours agoWGT Golf Road to Master
40.7K5 -
 1:35:04
Winston Marshall
2 days ago“This Wasn’t Accidental!” Maajid Nawaz SPEAKS OUT on R*PE Gangs and The REAL Cover-Up
117K66