Premium Only Content

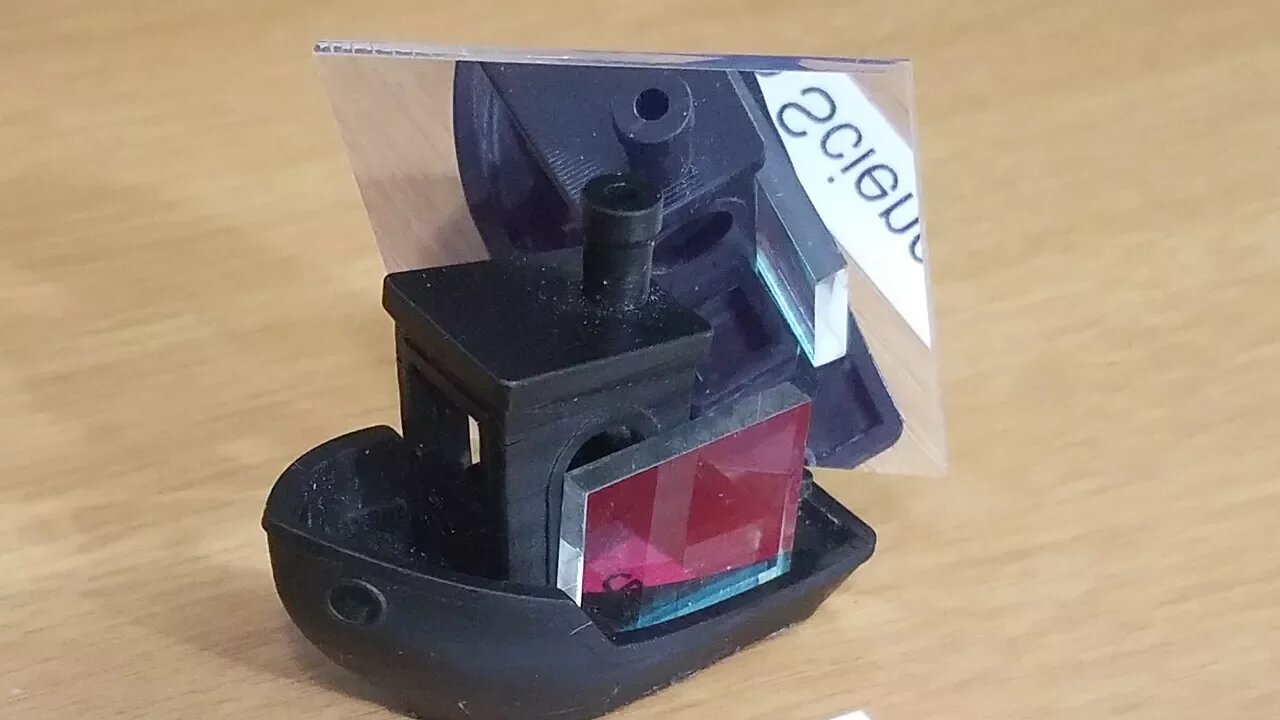
DLP Projector UV Pass Filter Installation Guide
This is a follow up video to my guide on removing the hot mirror (IR and UV Blocking mirror) from my DLP Projector to reduce cure times in my DLP 3D Printer.
If you do remove your hot mirror, installing a UV pass filer is a must. The Halogen lamp in your DLP Projector emits enormous amounts of light in an array of wavelengths from UV to Infrared. Since most resins cure between 385 and 405nm there are only a few wavelengths that actually need to be emitted from the projector. The UV pass filter protects your optics and DMD chip from unnecessary light exposure and heat.
#garagscience #engineering #maker
You can watch the first part on how to remove the hot mirror here:
https://youtu.be/0ep6uho9GXI
DLP Printers are a subset of SLA (Stereolithographic) 3D Printers, except instead of a laser they use High Definition Projectors to cure each layer of resin. If you want to learn more about DLP 3D Printers you can watch my overview video here: https://youtu.be/hQ21gbeYFYQ
The resin used in this video is Autodesk Magenta. Before modifying my projector at all I needed cure times of about 30sec and that was with gamma settings at their brightest and not being in Eco Mode. Since making the modification I've been able to turn my gamma settings almost all the way down and put the projector in ECO mode, and I still have gotten cure times reduced to 16sec.
If you have questions or suggestions be sure to leave them in the comments and like this video if you enjoyed watching.
Be sure to check out my FB page as well: https://www.facebook.com/GarageScience/
-
 1:00:33
inspirePlay
11 hours ago🏌️♂️ 3 Joes vs 1 Pro Golfer – You Won’t Believe This Ending! 🤯🔥
42 -
 20:47
20:47
MTNTOUGH Fitness Lab
18 hours agoDELAYED: Kyrgyzstan Ibex Hunt | A MTNTOUGH Original
247 -
 59:50
59:50
Trumpet Daily
18 hours ago $2.84 earnedThe End of the Trans-Atlantic Alliance - Trumpet Daily LIVE | Feb. 17, 2025
3.24K18 -
 52:05
52:05
PMG
9 hours agoWhat Does Freedom Cost? Steven Solomon's On-the-Ground Documentary in Ukraine
318 -
 2:38:54
TimcastIRL
10 hours agoElon Secret Child Scandal ERUPTS, Ashley St. Clair Story Goes Viral w/Bethany Mandel | Timcast IRL
157K105 -
 2:04:52
Kim Iversen
12 hours agoElon's Pumping Out Babies Like They're Tesla Model 3's | EU Panics Over Peace Talks, Wants More War
151K145 -
 1:05:35
Man in America
15 hours agoFort Knox & Trump’s Secret Gold Move—The Financial Reset NO ONE Is Ready For?
96.2K124 -
 2:21:20
Robert Gouveia
12 hours agoTrump Goes to SCOTUS! Judge CAVES on DOGE? Fani Willis Not Happy!
114K32 -
 20:41
20:41
Stephen Gardner
12 hours ago🔥You Won't BELIEVE What JUST Happened To Don Trump Jr.!!
119K201 -
 58:00
58:00
The StoneZONE with Roger Stone
10 hours agoEuropean Leaders Resist Trump Peace Overtures To Their Own Demise | The StoneZONE w/ Roger Stone
81.7K12