Premium Only Content

How to install the 8bitdo DIY Wireless Controller Kits in the SNES Classic Edition
Welcome to RoXolid Productions where in this video we show you how to install the 8bitdo Bluetooth controller conversions into the Super NES classic edition controllers. We are also going to show you how to hide the 8bitdo Bluetooth dongles inside your Super NES classic well being able to access the pairing buttons.
8bitdo was one of the first companies to come out with a wireless controller option for the NES classic edition, and as such, it made perfect sense that they would evolve that technology to also take care of the Super NES Classic Edition. Fast forward almost a year and they now have a solution that will make it possible for you to use your stock controllers for either the NES Classic or Super NES
Classic edition and use them with their Bluetooth dongles.
One of our viewers, Tim, wanted to be able to install these conversion kits into his controllers. His concern, however, was that he didn't have a lot of technical skills. I've already done this conversion once before, at least on the console side of things, so I was confident I could make this happen for him
The 8bitdo kits are actually quite nice. They include everything that you need to swap everything out within a few minutes. They even include an overabundance of screwdrivers, just in case.
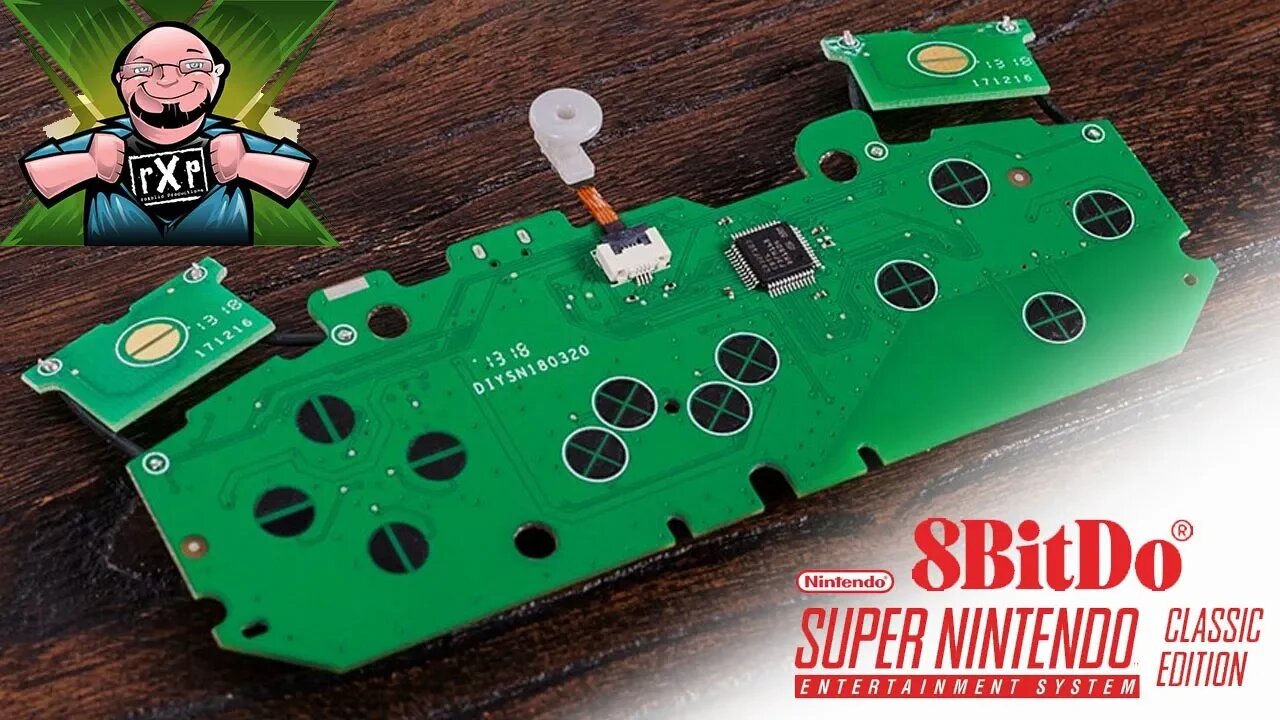
The conversion kit consists of a new controller board that you swap out the stock components with. You simply removed five different screws and swap out the parts. There's no soldering, no plugging or unplugging, in all it's a pretty simple solution.
The most challenging part of this conversion for me was finding a place to mount both receiver dongles inside the case of the Super NES Classic, all while still being able to access the pairing buttons. It took me about 10 or 15 minutes to determine a good location, but once I did I was golden.
Pairing the controllers to the receiver dongles were super easy, especially with everything provided in the kits. The range felt very good and battery life is advertised at up to 7 hours. Quite honestly if you don't care about having the dongle stick out of your system you could be done with this conversion for 1 controller in under 5 minutes, 10 minutes for 2. You can also use the Brook Accessory Nincade wireless adapter instead of the 8bitdo dongles if you would prefer.
In all, this was a pretty simple conversion and I think Tim is going to be very happy with how it turned out. I'm pretty happy with how it turned out myself! I would say you don't need any technical skill whatsoever to perform this modification, just a screwdriver which 8bitdo provides, and some patience.
Why it RoX:
- 5 minutes to install
- Maintains the feel and ergonomics of the original, mostly.
- LED power indicator
- No more controller cord length issues
- Bluetooth means your controllers will also be compatible with the Switch, Windows, Android and other devices.
What could be improved?
- A little expensive for what it does
- Proprietary charging connector
- Why is there not a 2-pack option?
- Very tight fit, there's not enough clearance IMO
- Triwing screws on the dongles
Should You Buy One?
When you can get a 3rd party controller and dongle for the same price as this DIY kit, it in some cases less, this is a hard sell for me. Yes, you maintain the exact feel of the OEM controllers but, frankly, you can get darn close with others. When you factor in the cost of the dongle, $12.99, plus the cost of the DIY kit, $19.99, is this worth $32.98? No, not to me. 8bitdo even has their own system for $25 which uses 2. 4 gigahertz instead of Bluetooth that makes more financial sense. It's pretty cool, but I don't know that it's that practical.
Do you want to send products, donations or gifts in for us to feature on the channel? Send all items to:
RoXolid Productions
208 E Water Street
Farmer City, IL 61842
The footage used in this review are used under the Fair Use laws, referenced below:
-
 12:21
12:21
RoXolidProductions
6 months ago $0.03 earnedALL-NEW Nintendo Switch, DS & 3DS Game & System Cleaning Kits!
1844 -
 1:49:46
Glenn Greenwald
1 day agoTrump Fosters A Peace Deal With Israel & Gaza; Trump's Pressure On Israel Embarrasses His Enemies & Provides Foreign Policy Clues; Rubio & Hegseth On War And Militarism | SYSTEM UPDATE #389
66.6K140 -
 1:28:46
Donald Trump Jr.
13 hours agoOut of this World: Breaking News Investigation on Secret Alien Aircrafts, Live with Ross Coulthart & Lue Elizondo | TRIGGERED Ep.207
251K360 -
 1:39:31
Space Ice
9 hours agoSpace Ice & Redeye: Battlefield Earth & Rob Schneider
44.3K4 -
 1:33:38
Flyover Conservatives
1 day agoAMANDA GRACE | Prophetic Warnings Ignored: What Happens When Leaders Defy God | FOC Show
37.5K13 -
 59:57
59:57
The StoneZONE with Roger Stone
8 hours agoMEDICAL MURDER: A Sneak Peak into the Making of Died Suddenly 2 | The StoneZONE w/ Roger Stone
34.1K8 -
 1:07:03
Tucker Carlson
7 hours agoMother of Likely Murdered OpenAI Whistleblower Reveals All, Calls for Investigation of Sam Altman
124K145 -
 55:44
55:44
LFA TV
14 hours agoCongress Humiliates Itself | TRUMPET DAILY 1.15.25 7pm
101K31 -
 1:42:04
2 MIKES LIVE
8 hours ago2 MIKES LIVE #167 News Breakdown Wednesday!
63.9K15 -
 2:12:19
Quite Frankly
12 hours ago"Fahrenheit 2025: Drone Hysteria, The Fog, Smart L.A." ft. Elana Freeland 1/15/25
76.5K17