Premium Only Content

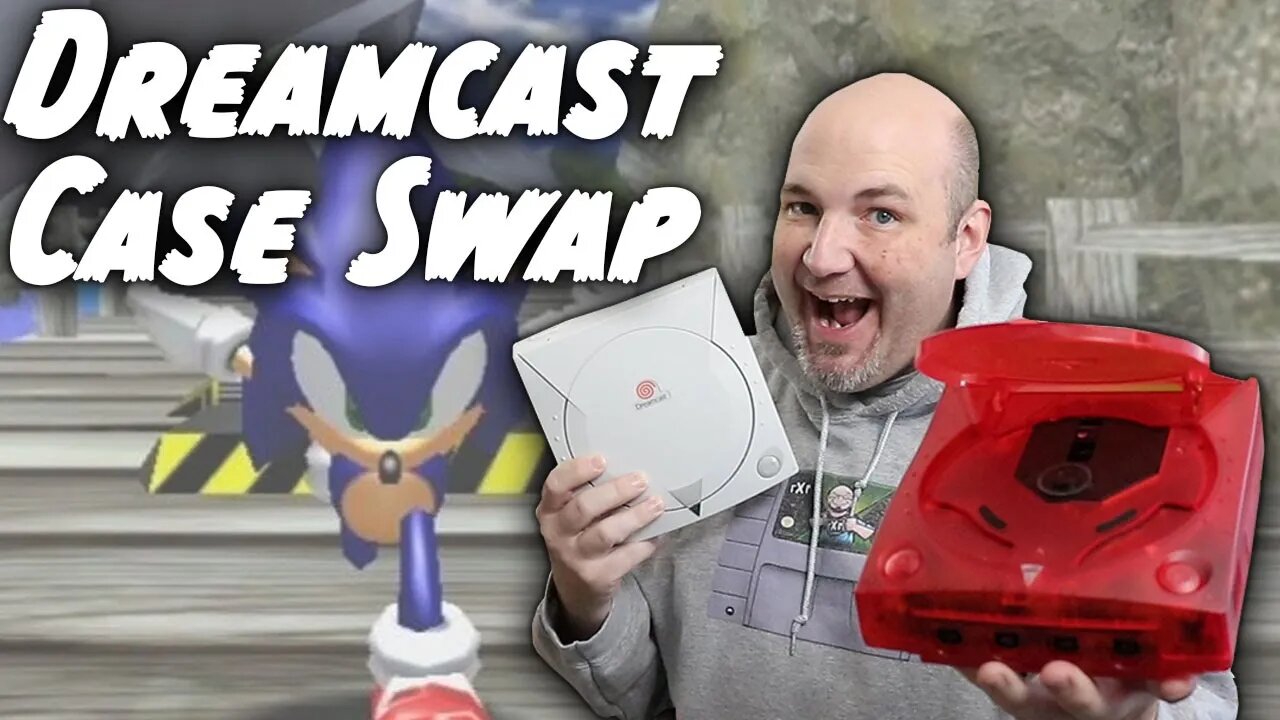
Project: Ultimate Dreamcast Part 1 - Case Swap From Game-Tech.US
In this episode, it is the first in our Dreamcast mod series where we install a new case on our system from Game-Tech.us.
I've wanted to do more with my Sega Dreamcast for quite some time. Honestly, since getting the StrikerDC I have spent more time playing the system than I ever have before. But there are a few quirks about it that I'd really like to address. I'm not a huge fan of the stock aesthetics, and VGA output definitely has its issues with some games. Finally, being able to easily rip my library and convert them to digital files to have everything on an SD card would be super convenient. So, here we are, time to mod our Dreamcast
Chapters:
0:00 - Introduction
2:38 - System & Kit Overview
4:02 - Optional Dreamcast Badges
4:38 - Disassembly
14:11 - Installation into the new Shell
22:51 - Installing the new Dreamcast Badge
24:39 - Final Results + StrikerDC comparison
25:04 - Final Thoughts
I opted for the crystal red case from Jason at Game-Tech. The case itself comes with all the pieces you will need to swap out your stock case. One thing that it does not include and you will want to make sure you hold on to is any screws. You'll need to reuse the ones from your original case. Thankfully, you won't need any security bits, tri-wing screwdrivers, or other oddball tools for this mod. A large and a small Phillips blade screwdriver takes care of all the screws.
Before starting to work on your system, make sure you turn the power button on and off several times once you have disconnected the system from power. This makes sure that any capacitors on the board have been fully discharged and that you can work safely on the system. The only major thing to be aware of during disassembly is that the board with the controller ports is not mounted directly to the controller port fascia. Once the four screws are out for the controller board, simply slide it backwards. We'll remove that fascia later on.
During the disassembly process, it's a good idea to check out the condition of your system. If you have excessive dust, dirt, or other crud hanging out, a can of compressed air is best for cleaning everything off. If your system is super gunked up, a soft bristle brush will help remove any dirt or debris.
With the system disassembled, it was time to start putting the pieces into the new case. I found it rather challenging to get the main board installed in the new case and have it lay flat. What I found is you can't go in at an angle on this. You need to go straight up and down otherwise the lower RF shield will hang up and that's it flat. There's also several mounting and alignment tabs that you want to make sure that you are going straight into. And then there's the controller Port fascia.
After I had the main board and power supply installed into the new case, I realized I had not installed the controller port fascia. This is something you will want to do before you even lay the motherboard down into the system to make sure that you can do it without any major issues. I was able to remove the power supply again, remove the screws, and lift the front of the motherboard up to be able to install the controller port cover. To say I felt stupid for forgetting this would be an understatement.
Once the system is reassembled, and it's actually really easy to do, install the top cover and the four screws that retain it. Don't put the modem into the case until you have the two halves screwed together, otherwise you'll have to do like I did and remove the modem again. This is more of an inconvenience than anything, but something to be aware of.
Once completed, I powered the system on and it looked fantastic. I feel with the components inside of the case it very closely matches the red that Retro Fighters used on the StrikerDC. And that's great because that's exactly what I was looking for. The final step was to install the 3D printed Dreamcast Jewel, sold separately. I had gotten several to try out, my favorite was the White with the clear background.
I love how my system now looks and turned out, and I'm very excited for the next step in this mod process. I want to thank Jason from Game-Tech for providing some awesome customer support and some of the coolest Mod gear on the internet. Between he and Voultar, they are my first two to go to for any components or parts such as this. I cannot recommend the Dreamcast case highly enough, and now it has me seriously considering a similar case swap for my Sega Saturn.
#Dreamcast #Sega #RetroGaming #ReplacementShell #GameTechUS
The footage used in this review are used under the Fair Use laws, referenced below:
-
 12:21
12:21
RoXolidProductions
4 months ago $0.03 earnedALL-NEW Nintendo Switch, DS & 3DS Game & System Cleaning Kits!
1664 -
 LIVE
LIVE
Scottish Viking Gaming
9 hours ago🔴LIVE | SUNDAY FUNDAY | Jump into my Sons of the Forest Game | DOO EET NOWWA!
989 watching -
 24:01
24:01
Winston Marshall
4 days agoThe TRUTH About The UK Farmer Protest What No One Is Talking About...
60K150 -
 3:21:56
Tate Speech by Andrew Tate
13 hours agoEMERGENCY MEETING EPISODE 93 - ME TOO!
224K148 -
 3:21:42
FRENCHY4185
8 hours agoPRESTIGE AND CAMO GRIND : BLACK OPS 6
56.6K2 -
 1:29:47
Real Coffee With Scott Adams
9 hours agoEpisode 2669 CWSA 11/24/24
87.7K29 -
 13:52
13:52
Hershberger's Kitchen
20 hours agoTwo Delicious Dip and Spread Recipes to Try, Inspirational Thought
77.6K5 -
 3:41:05
Sacred Sage
11 hours ago $4.73 earnedDaz3D: Attempting to Finish Zoe Conversation!
59.1K5 -
![[Stream #19 ] Gaming, Chatting, you know the drill!](https://1a-1791.com/video/s8/1/W/f/M/4/WfM4u.0kob-small-Stream-19-Gaming-Chatting-y.jpg) 8:14:24
8:14:24
OneRandomDolly
9 hours ago[Stream #19 ] Gaming, Chatting, you know the drill!
70.4K4 -
 11:07
11:07
TimcastIRL
1 day agoElon Musk Suggests He’ll BUY MSNBC, Joe Rogan Will REPLACE Rachel Maddow
91.1K112