Premium Only Content

DIY Rock, Epoxy Drip Tray | NEVER see Shoe Puddles again!
Having a cheap black shoe pan in our Pinterest worthy mudroom was not going to cut it so we show you how to make a DIY Shoe Drip Tray from Wood, Epoxy and ROCK! | NEVER see Puddles Again!
You WANT some of these boots enter the giveaway: CLOSED but you can still get 10% off!!
Thanks to Carolina and Total Boat for sponsoring this video:
Use Coupon Code: ‘DTyler10’ and get 10% off any pair of Carolina Boots. Expires 10/31/19
Shop Carolina: http://bit.ly/34Bxifz
⛵Total Boat Epoxy:
http://www.totalboat.com/
Kit I used in this build: https://amzn.to/2OaQQ4w
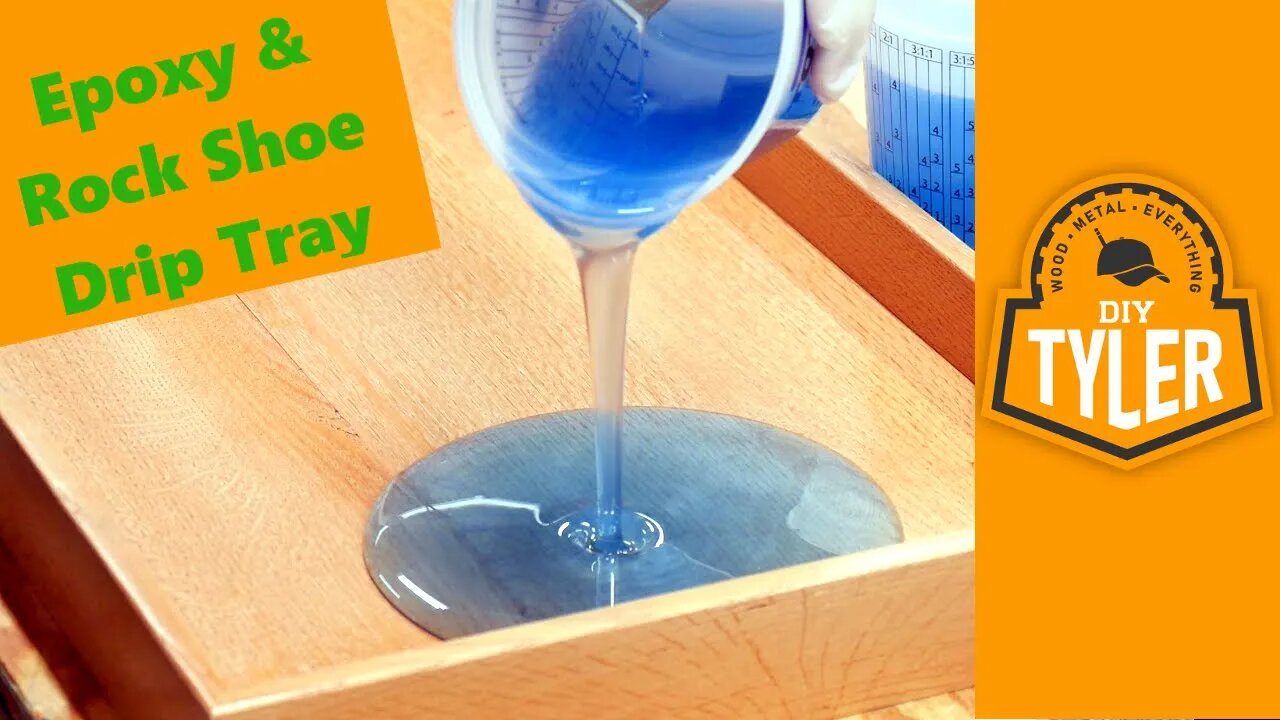
A cheap black shoe pan is one thing but mud puddles on your tile job is another! Had this idea to use river rock to make a shoe pan, the rock being able to hid all the mud. So I whipped up a wooden tray using some red oak a co-worker hooked me up with (thanks Steve!), poured a 3/8" layer of total boat epoxy mixed with some blue pigment and filled the tray with river rock. Turned out pretty well and I definitely learn some things that I will take with me to future projects that incorporate epoxy.
Tray was made from red oak jointed and planned down to 1/4" for the boot tray base and 3/8" thick for the sides. Cut a dado into all sides using the table saw creeping the fence over one cut at a time to get to the dado width that was needed. Cut 45 degree miters using the miter saw and glued up with Titebond III wood glue aided by some fast acting TiteBond CA glue so I could keep moving. Used some miter spring clamps to help get a really tight joint. Since end grain joints are not very strong I always like to add reinforcement in the way of splines or dowels. Chose to go with dowels on this project as they are very fast, easy and offer a subtle touch to the project. Finish on the tray was a High Performance Topcoat from General Finishes tinted about 10% with some waterbased shaker maple stain.
Once the tray was done drying it was time to add some pigment to the epoxy, mix it up and pout into the tray. Set the river rock into the tray by hand so I could get a pattern I liked and make sure I didn't splash anywhere. Let the epoxy cure overnight and bam, all done and looking great!
🎥Subscribe! http://bit.ly/2UJxXZW
👕GET YOUR SHIRT ON [new LOWER prices on the swag!] http://bit.ly/DITylerMERCH
📔📙All our Digital Plans: http://bit.ly/2Mm6slA
🛠️Some tools we Used (Affiliate Links):
Miter Spring Clamps: https://amzn.to/2O8oYhv
IsoTunes Xtra: https://amzn.to/2NBu7zw
FastCap 16oz Glue Bot: http://goo.gl/X5aNZ0
FastCap 4oz Babe Bot: http://amzn.to/1KEuIUf
Swanson Combination Square: http://goo.gl/EYuGAn
Bessey Quick Clamps: http://goo.gl/jVAzeu
FastCap Tape Measure: http://goo.gl/t2lWJD
EDC Tool Belt: http://goo.gl/XZnWRxBrayer Roller: http://goo.gl/bc5uIE
3M Respirator: https://goo.gl/ZexRQd
3M Respirator Filters: https://goo.gl/92Ejh0
RIDGID Stealth Force Impact Driver: https://goo.gl/K2jKgG
Katz-Moses Dovetail Jig: http://bit.ly/DVTJig
Nerax Chisels: https://amzn.to/2KPVgw8
Pull Saw: https://amzn.to/31xnDoH
Coping Saw: https://amzn.to/31u3zU1
Marking Knife: https://amzn.to/2Ki5ZQv
Marking Gauge: https://amzn.to/2IIyaVp
Layout Calipers: https://amzn.to/2F6Ryuo
Diamond Sharpening Stones: https://amzn.to/2KPUC1G
12000 Grit Wetstone: https://amzn.to/31AsfKu
Flattening Stone: https://amzn.to/2Xcpdgs
Honing Strop: https://amzn.to/2KJZdlU
1/8" Chisel: https://amzn.to/2XJQML7
Titebond TiteWrap: https://amzn.to/2F9AALM
Mirka 6" ROS Sander: https://amzn.to/2Eijyfv
SuperMax 16|32 Drum Sander: https://amzn.to/2QJ3iKi
10 Million Dollar Stick: https://amzn.to/2SrKvjS
Moisture Meter: https://amzn.to/2SwBy9i
Follow us:
https://DIYTyler.com
https://www.instagram.com/diytylerg/
https://www.facebook.com/DIYTyler/
-
 13:37
13:37
Wood, Metal, Everything
1 year ago $4.34 earnedSave $$$ and Create Your Dream Vanity on a Budget: DIY Tile Countertop with Schluter Profiles
1.06K2 -
 1:12:16
LFA TV
12 hours agoGame-B with Guest Courtenay Turner | WORLD HD 1.8.25
2.82K -
 17:37
17:37
Neil McCoy-Ward
1 hour agoThe 'REAL' Reason Trump Wants GREENLAND (& The PANAMA Canal...)
1812 -
 11:48
11:48
Tactical Advisor
1 day agoNEW Brownells BRN-180 Gen 3 (FIRST LOOK)
12.7K1 -
 11:33
11:33
MichaelBisping
23 hours agoBISPING: "Islam's RIVAL ISN'T 100% INVESTED in MMA?!" | UFC 311: Makhachev vs Tsarukyan 2
24.4K4 -
 33:14
33:14
Bek Lover Podcast
12 hours agoMark Zuckerberg Folds, Trump Talks World Domination & More Strange News..
11.5K9 -
 3:29
3:29
pjf1055
1 hour agoUNITE and FIGHT
10 -
 50:05
50:05
PMG
1 day ago $1.20 earned"Hannah Faulkner and Dr. Carol Swain | THE GAY AFFAIR"
13.9K -
 9:35:23
MyronGainesX
16 hours agoElon Musk Censors Me, Alex Jones Stays Silent & Tate Runs For PM!
104K87 -
 2:57:43
Price of Reason
16 hours agoMark Zuckerberg REVERSES Course On Free Speech After Trump Win! Disney DESPERATE To Save Star Wars!
79.1K13