Premium Only Content

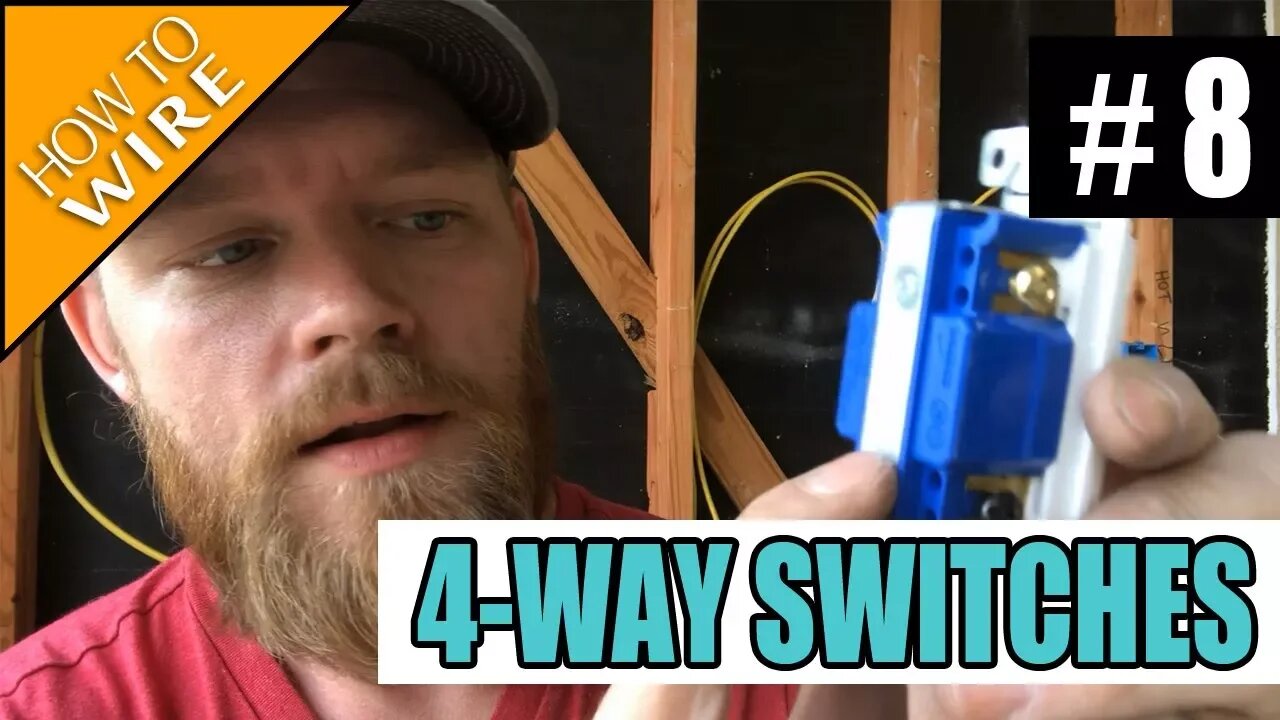
Episode 8 - How To Wire For And Install 4-way Switches
00:00 Intro
00:37 Explanation of a 4-way switch
03:15 Pulling wire through the electrical boxes
06:28 Wire and staples
07:20 Labeling wires
08:09 Reading the back of the switch for description
10:05 Twisting wires together
10:45 Wire nut application
11:47 Stripping wires
14:00 Clean and neat work
15:10 Tips on marking length for proper installation
22:40 Putting in decora devices
24:00 Matching wires to screws
29:57 Tightening wires and screws
34:20 How it works
35:30 Outro
In this video I talk about how to wire for and install 4-way switches. 4-ways are very similar to 3-ways, and in fact you use 2 3-way switches in a 4-way setup.
First you have to think about the reason why you need a 4way. 4way setups are needed when you have 3 or more locations that need to be able to switch the same light or lights. Say you have a room with 3 entrances/exits. You will need to place a single gang box at each of the 3 doorways for a switch to go. In a 3way setup you only need 2 boxes because you're only trying to control a light from 2 locations.
Once you get the 3 boxes set up you need to figure out which side will be your "hot side," and which will be your "leg side." The hot side is where your incoming power will land. Your leg side is where your switch leg will go up to the light or lights you're trying to control. You want to be sure not to put both your hot and your leg in the same box. Always keep them on separate sides of the room.
From the hot side you'll run a 12/3 "traveller" (3-conductor with ground - most often a black, red, white, and bare ground) from the first switch box to the 4-way switch box in the middle. Then from that middle 4 way box you'll run another 12/3 traveller out to your leg-side box. Then if you haven't already run a hot (12/2) to your hot side box from a known location of existing power. Finally run a switch leg (12/2) from your leg side box up to the light/lights.
That's it as far as the wiring. It is a good practice to get into to label each wire that you land in a box. You won't need to do this up in the light or in any plug boxes. Only light switch boxes need to be labelled when wiring for a 3--way or 4-way system.
Next you'll need to rip out the wires and prepare them for installing the 3way and 4way devices. This video talks about properly twisting grounds together, making joints on the neutrals, and twisting your 12/3 black and red wires together to identify them as travelers. Otherwise you may get confused about which black wire goes where.
Once you have everything ripped out and prepared for the switches, it's time to install the devices. On the 3way switches (one goes on the hot side, the other goes on the leg side) you'll simply put the independent black wire on the black (common) screw. Both of the gold screws are for the 12/3 travellers. And finally the green screw is for the bare ground.
The 4-way switch goes in your middle box and each pair of 12/3's go to a specific side of the 4way device. Each 4-way switch has an "IN" and "OUT" side designated on the back of the device. Make sure that the travelers coming from the hot side go into the "IN" terminals. The travelers going out to the leg side must go in the "OUT" terminals.
Once all of the devices are installed turn on power (make sure you have a lightbulb in your light) and start flipping all of the switches you just installed. You should be able to walk through the room and flip every switch and all of them both turn on and off the lights from all 3 locations. If not, you fucked something up lol
A 4way system can have an infinite amount of switches. If you have a room that needs 8 switches (for some stupid reason), you would still be able to use this set up. If you have any questions on how to do this, please leave a comment below and I'll happily explain how this would work.
Thanks for watching! Subscribe and LIKE this video if you got value from it.
Peace out my ninjas~
#electricianclasses #electricaltraining #electriciantraining #install4wayswitch
-
 0:57
0:57
Electrician U
1 year agoMy FAVORITE Tester for Electricians - What Hand Tools Are YOU Missing
5.38K -
 2:11:02
Kim Iversen
11 hours agoMUSK VS MAGA: Are Americans Too Uneducated and Lazy To Hire? | Debate: “Jesus Wasn’t A Jew”
82.9K259 -
 5:25:14
Drew Hernandez
8 hours agoMAGA CIVIL WAR OVER H-1B & DREW W/ HODGE TWINS
70.8K83 -
 1:05:22
Donald Trump Jr.
14 hours agoAmerica First Means Reviving the American Dream, Interview with Peter Schweizer | TRIGGERED Ep.203
152K289 -
 1:34:02
The Officer Tatum
13 hours agoLIVE: Trump ENDORSES Mike Johnson as Elon BACKTRACKS On H-1B + MORE | Officer Tatum Show EP 32
98.1K183 -
 45:56
45:56
Kimberly Guilfoyle
13 hours agoNew Year. Same MAGA Mission, Live with Roger Stone | Ep. 183
106K42 -
 1:49:14
2 MIKES LIVE
17 hours ago2 MIKES LIVE #160 We're Back! Deep Dive Monday!
79.4K13 -
 54:28
54:28
LFA TV
1 day agoTrump’s Triumphant Year | Trumpet Daily 12.30.24 7PM EST
75.5K11 -
 2:28:37
Quite Frankly
15 hours ago"2024 Review, Homunculus Flu, Old/New Year Predictions" 12/30/24
97.6K15 -
 14:04:17
RonjnJeremy
18 hours ago $9.20 earnedClassic Wow 20th Anniversary edition HC SF, Rogue..PT8 lvl 46+ Just need to stay alive...
117K6