Premium Only Content

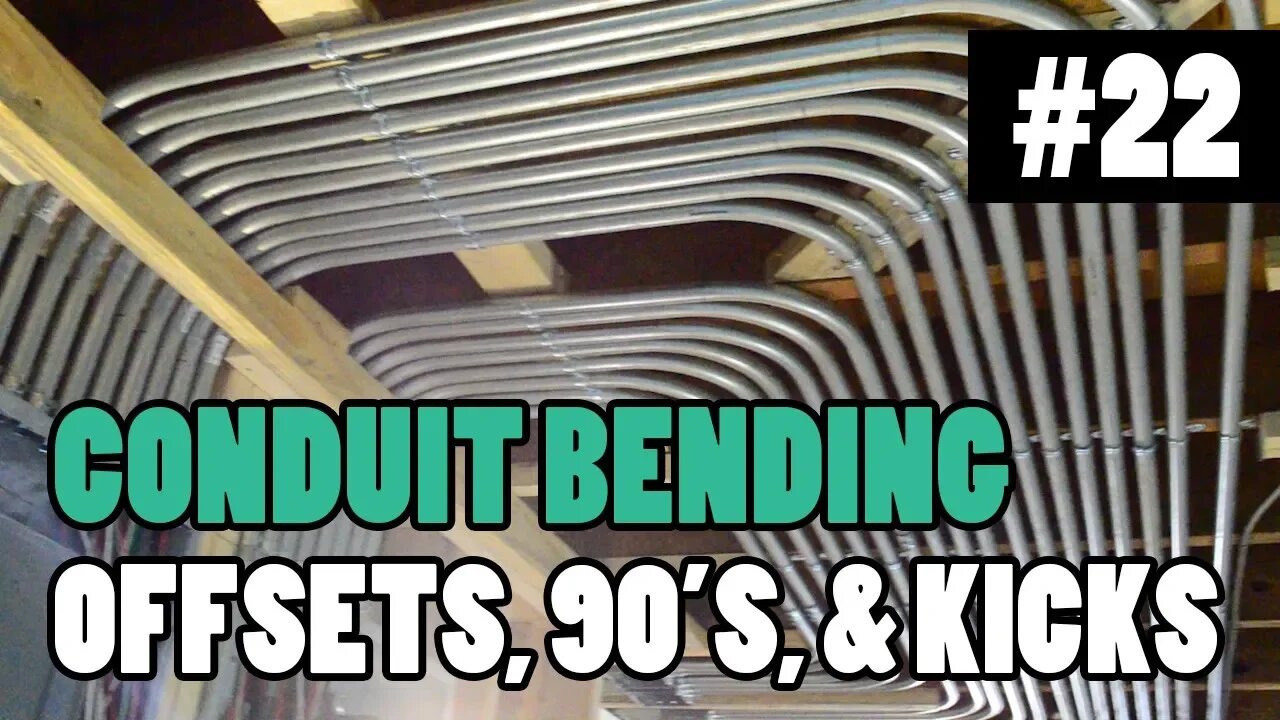
How To Bend EMT Conduit/Tubing - HOW ELECTRICIANS BEND 90s, OFFSETS, BOX OFFSETS, & KICKS
This is, no-doubt, my most asked for topic to do an episode. “Do an episode on bending conduit” they say….”It’ll be fun” they say… Well my friends, strap in, here we go….
👾🤖PRACTICE EXAMS🤖👾
https://www.electricianu.com/practice-exams
😎👕MERCH👕😎
https://www.electricianu.com/merchandise
📲👥SOCIALS👥📲
Instagram - https://www.instagram.com/electrician_u
Discord - https://discord.gg/7ykYfbh
Facebook Page - https://www.facebook.com/theelectricianu
Facebook Group - https://bit.ly/2tz7eQh
TikTok - https://www.tiktok.com/@electricianu
PRODUCTS USED IN THIS VIDEO:
1/2" EMT Bender - https://amzn.to/2QY6KxO
3/4" EMT Bender - https://amzn.to/2OW6KN1
1" EMT Bender - https://amzn.to/2FvIYI2
Stanley 25' Fat Max Tape Measure - https://amzn.to/2znwPPZ
Klein Torpedo Level - https://amzn.to/2DDHf0D
First off there are some things to understand about different types of conduits. For example today we’re going to be bending EMT (Electrical Metallic Tubing). This type of conduit is relatively easy to bend using a bender if you’re bending 1/2”, 3/4”, or 1”. Once you get to about 1 1/4” and up this type of conduit requires a larger bender, and a lot of ass behind the person bending it. Normally in this situation a company will use a “Chicago Bender” or an “Machine Bender” (which is normally either electric, pneumatic, hydraulic)
In our example we’re going to be dealing with 1/2”, 3/4”, and 1” EMT. This is the easiest conduit to bend, so for those of you practicing at home - choose 1/2” EMT to start with before moving up to 3/4” or 1” as the ease of use makes the understanding go further.
Understanding The Bender
First thing we talk about is understanding the bender. There are tons of little lines, marks, and numbers on the shoe of a conduit bender, and knowing which one does what is half the battle. To start off, every bender has stamped in it what type of conduit the bender is designed to be used for. A 1/2” bender will say “1/2” EMT Only” or something similar - usually located where the shoe meets the threaded end of the handle. If you flip the bender around 180 degrees, in the same spot there will be a stamp for what size takeoff you’ll need to use to achieve the proper bend with this bender.
Next are the lines that say 10, 22.5, 30, 45, and 60 next to them. These are your angles of bend radius. To bend a 30 degree angle with a conduit bender, you bend the pipe up from the ground until the 30 degree line on the bender is parallel to the pipe and floor. You would flip the bender over and repeat this step if you were trying to bend a 30 degree offset to overcome an obstacle.
Probably the most important mark to learn is the “arrow” - this is the marker you’ll use most often when bending 90’s or offsets. If you need to bend a 90 or offset at 65” you’ll mark your pipe and line the arrow up with the mark, and bend accordingly.
CONTINUE READING AT: https://www.electricianu.com/podcast/episode-22-how-to-bend-90s-and-offsets-in-electrical-pipe-and-conduit
#pipebending #conduitbending #apprenticeship
--
IF YOU ENJOY THESE VIDEOS PLEASE SUBSCRIBE AND "LIKE" THEM ABOVE. ALSO CHECK OUT THE ELECTRICIAN U PODCAST ON ITUNES!!
-
 0:58
0:58
Electrician U
1 year agoFISH STICKS! Every electrician needs these!
6.01K -
 LIVE
LIVE
PaddysParlorGames
13 hours agoSunday Parlor Chill: GOBSTEIN
2,378 watching -
 LIVE
LIVE
Major League Fishing
4 days agoLIVE! - Bass Pro Tour: Stage 2 - Day 4
716 watching -
 56:24
56:24
Russell Brand
1 day agoEddie Gallagher: War, Betrayal & Fighting the System
90.5K11 -
 11:21
11:21
TimcastIRL
5 hours agoGOP Rep Says TWO SHOOTERS In JFK Assassination As FBI Uncovers TROVE Of Secret Documents
94K124 -
 1:04:55
Bare Knuckle Fighting Championship
4 days agoBKFC ITALY PRESS CONFERENCE | LIVE!
37.3K3 -
 10:04
10:04
Space Ice
3 hours agoThe Movie Silent Hill Is Like Resident Evil Without The Good Parts - Worst Movie Ever
21.1K3 -
 5:49
5:49
Hannah Barron
1 day agoRedneck Euro Mount
18.3K20 -
 32:34
32:34
hickok45
8 hours agoSunday Shoot-a-Round # 268
13.9K12 -
 27:33
27:33
The Finance Hub
18 hours ago $10.43 earnedBREAKING: ALINA HABBA JUST DROPPED A MASSIVE BOMBSHELL!!!
48.5K83