Premium Only Content

Installing My Airhead Composting Toilet In My Tiny Home N14
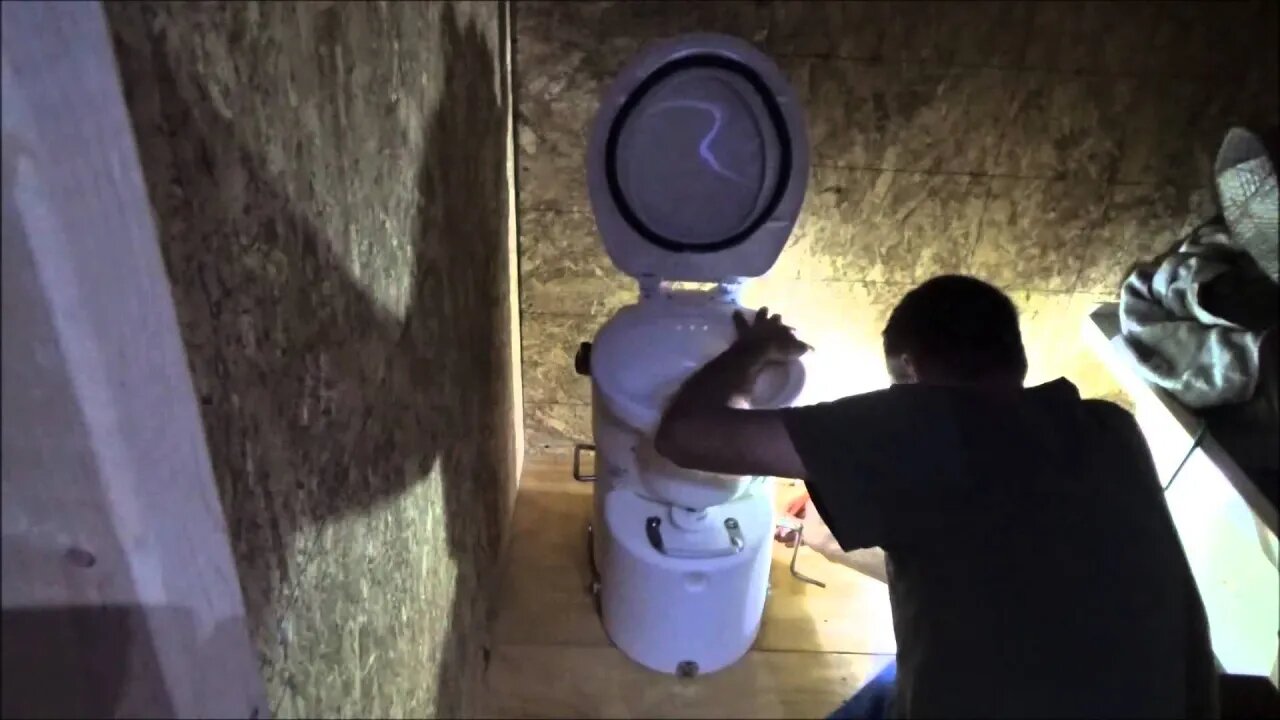
Now that my bathroom is closed in it is time to install my new Airhead composting toilet in the tiny house on wheels.
I first had to read the instructions and watch a couple videos to be sure I had things right. There are a couple things you have to do in order to use this toilet. Its not a standard flusher so there is a bit of setting up first.
I took the coconut husk shavings and added about 2 quarts of water to it. This causes it to swell up nicely. You should let it sit overnight to absorb the water evenly. Then break it up to prepare it for the composting toilet.
Next thing on the list was to glue in the vent hose fitting inside the composting toilet. This was the only part that the end user has to assemble at home.
I inserted the hose attachment into the hole in the composting toilet. You can chose right or left side as needed. Using PVC cement I glued on the inside fitting to hold it in place. Make sure it still spins freely. This allows you at screw on the hose later.
Next you pop in the vent screen on the other side. This is the fresh air intake.
Thats it. The assembly of the Airhead composting toilet is finished.
I took it into the bathroom to prepare for mounting on the floor of my tiny home.
First I assembled the toilet and slipped in the liquids tank. Then I marked the floor mounting brackets with a pencil.
Next I removed the toilet and took off the brackets. Then I held them in place by the pencil marks and marked the screw holes.
Next step was to drill pilot holes in the floor for the screws and then fasten the composting toilet mounting brackets to the floor of my tiny home bathroom.
Before tightening the screws fully I tried the fit of the toilet on the brackets. Everything fit very nicely so I finished tightening the screws down.
All that is left to do is to place the toilet onto the brackets and screw it tightly down.
The last step for today was to put my coconut shell shavings into the composting toilet. The instructions tell you to fill the toilet dry tank about halfway full. This takes the entire block of coconut shell.
I had to give the crank handle a few turns just for fun. It is pretty exciting to have a real composting toilet in my tiny house now. I have never been so excited about a toilet before.
Later I have to run the air hose through the wall and get some power on the fan.
You can find the Airhead composting toilets here:
https://www.airheadtoilet.com
Follow my daily progress on the path to self sufficiency on my off grid solar homestead.
https://www.youtube.com/user/techman2015/playlists?view=50&shelf_id=10&sort=dd
Please donate to help keep The Off Grid Project going: https://www.paypal.com/cgi-bin/webscr?cmd=_s-xclick&hosted_button_id=3TQSWXLLRZ6HW
Join The Off Grid Project and The Do It Yourself World forum and share your ideas, tips and projects.
http://www.thediyworld.com/forum
The Off Grid Project is presented by The Do It Yourself World.
http://www.TheDIYworld.com
-
![[Tekken Tuesday] Its Time! Buckle Up Butter Cup!](https://1a-1791.com/video/fwe2/36/s8/1/I/U/S/e/IUSex.0kob-small-Tekken-Tuesday-Its-Time-Buc.jpg) LIVE
LIVE
CHiLi XDD
7 hours ago[Tekken Tuesday] Its Time! Buckle Up Butter Cup!
1,379 watching -
 3:05:19
PandaSub2000
12 hours agoDuckTales Remastered | ULTRA BEST AT GAMES (Original Live Version)
23.2K -
 LIVE
LIVE
SpartakusLIVE
7 hours agoShadow BANNED Day 1 of NEW Season || Has WZ been FIXED?!?!
1,014 watching -
 1:19:42
Glenn Greenwald
8 hours agoLab Leak Revelations Prove Corrupt Suppression of COVID Dissent; CNN Boots Jim Acosta: Who & What is a "Journalist"? | SYSTEM UPDATE #398
69K94 -
 1:11:00
Donald Trump Jr.
12 hours agoFirst White House Press Briefing, Plus Behind the Scenes on Capitol Hill w/ Rep Vince Fong & Sen Eric Schmitt | TRIGGERED Ep.211
188K163 -
 1:45:52
Redacted News
9 hours agoBOMBSHELL! Trump about to announce largest spending FREEZE in American history, deep state in PANIC
193K378 -
 1:05:23
Man in America
13 hours agoDeepSeek & the AI War to Dominate the New World Order w/ Mike Adams
42.1K15 -
 2:50:20
DLDAfterDark
4 hours ago $1.04 earnedDLD Live! Are They Planning an Attack?? The "cute winter boots" Trend & What it Means!
19.2K1 -
 55:26
55:26
Flyover Conservatives
1 day agoFrom Conspiracy Theory to Proven Fact: Breaking Free from the American Corporation - Ann Vandersteel | FOC Show
39.5K5 -
 1:48:32
Danny Polishchuk
10 hours agoThe Funniest Call In Show On Earth - Live From New York City's Best Comedy Club
39.1K