Premium Only Content

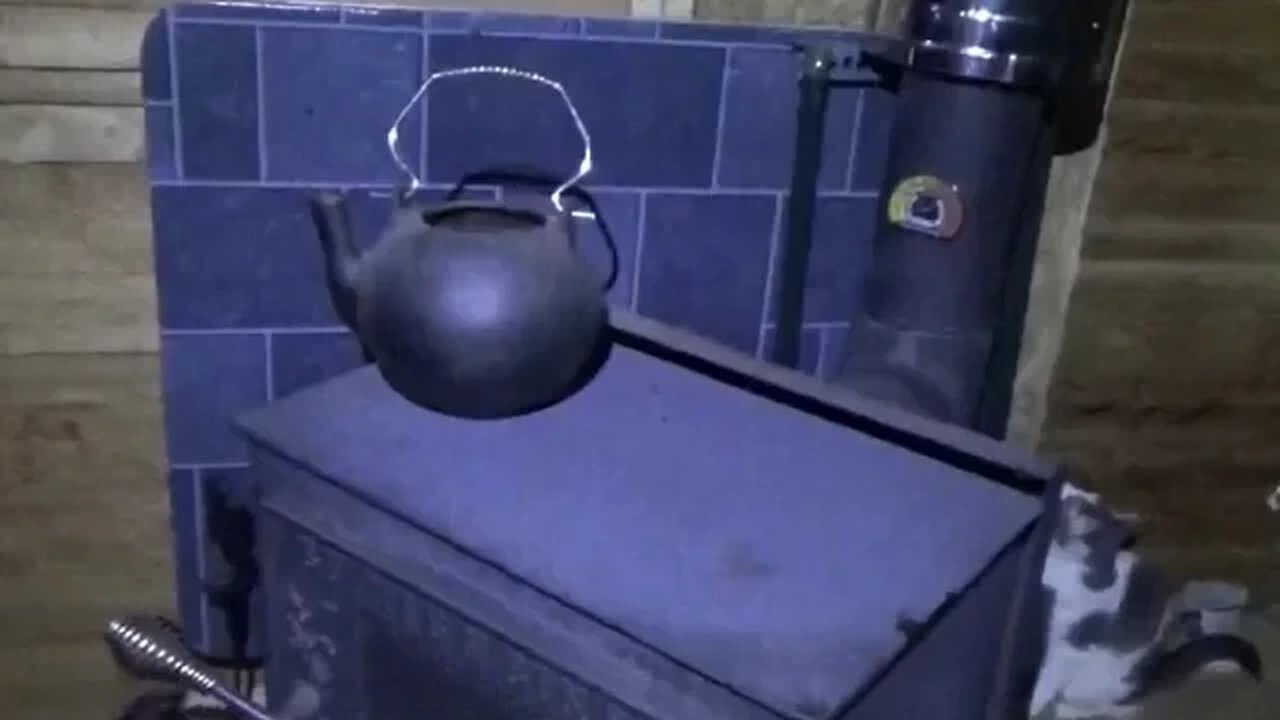
Finished Tiny House Wood Stove Heat Shielding
I have finished making the heat shield for my tiny house wood stove. I got an awesome deal at TSC for a proper wood stove heat shield.
Read the blog post here: http://www.thedoityourselfworld.com/blog/?p=1947
I first used 2x2 lumber and framed in the stand which will hold the heat shield between my tiny house living room wall and the wood stove.
I took the frame outside on the top of my garden tractor trailer and used that as a platform to work on. I laid the heat shield on top of the frame.
Next I predrilled holes for each of the ten ceramic spacers which hold the heat shield from the wood framing for safety and proper function.
Each hole got a screw and a ceramic spacer.
When I was finished I took the new heat shield into my tiny house and slid it right into place behind the wood stove.
It looks very good.
Next I used my laser thermometer to check the temperatures all around the wood stove, heat shield and the walls. The wood stove was of course hot. The heat shield was warm. And the walls were room temperature. It is working perfectly.
I have enough space between the wood stove an the heat shield, the heat shield and the frame and the walls to keep everything nice and cool
Later I split some fire wood for my off grid tiny house on wheels. I am using only wood to heat my tiny home. We are going into a bitter cold weekend with wind chill warnings. So I cut enough fire wood to last a week of normal days. At the very worst case I can get through the weekend comfortably no matter what the weather.
Thanks for watching. Please Subscribe & follow my daily videos.
Troy
http://www.thedoityourselfworld.com
http://www.theoffgridproject.com
Note: Copying this video, in part or in full, is a violation of copyright unless the user has express permission from the owner. Violation of this copyright will be pursued to the fullest extent of the law.
-
 3:21:11
Barry Cunningham
5 hours agoPRESIDENT TRUMP IS THE STORM! DEMOCRATS INITIATE A COUP! LIBNUTS LOSING IT! ARE YOU READY?
26.9K37 -
 26:56
26:56
MYLUNCHBREAK CHANNEL PAGE
12 hours agoUnder The Necropolis - Pt 6
43.8K29 -
 8:07
8:07
Tundra Tactical
4 hours ago $1.59 earnedHiPoint Embraces The MEME Yet Again.
19.3K -
 UPCOMING
Break The Cycle w/ Joshua Smith
22 hours agoBreak The Cycle Ep. 246: The Return w/ Vinny Marshall
87 -
 7:36
7:36
Colion Noir
4 hours agoDonald Trump Issues Executive Order To Protect The Second Amendment
32.8K29 -
 13:39
13:39
Exploring With Nug
10 hours ago $2.23 earnedCars Found Underwater While Searching Georgia Woman!
27.1K1 -
 56:50
56:50
IsaacButterfield
1 day ago $5.07 earnedSam Kerr Goes To Jail | Americas Worst Law | Teacher Of The Year
34.6K14 -
 6:14
6:14
Silver Dragons
1 day agoAmerican Silver Eagle Coins - Dealer Reveals Everything You NEED to Know
36.7K7 -
 19:18
19:18
Neil McCoy-Ward
1 day ago🚨 The USAID Scandal Goes Way Deeper Than We Could Have Imagined!
50.6K26 -
 14:29
14:29
Bearing
12 hours agoTHE BIG BALLS EFFECT - Democrats MELT DOWN Over DOGE & USAID 🔥
48K73