Premium Only Content

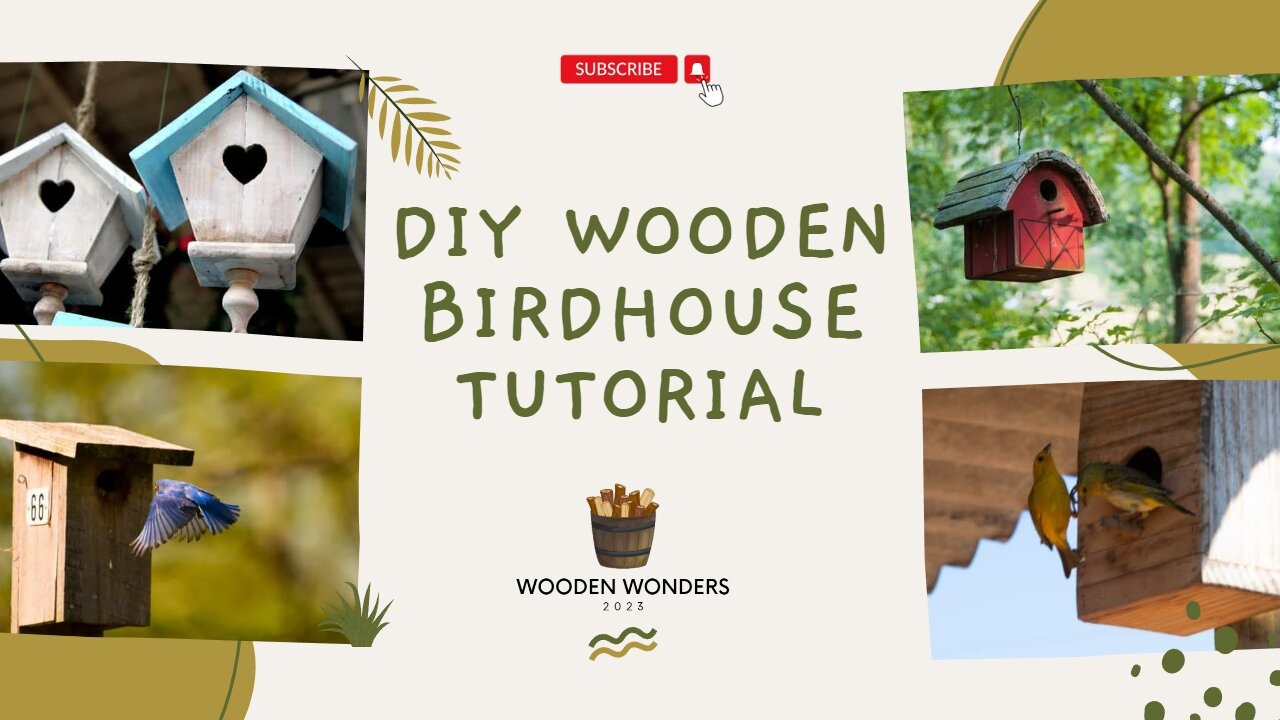
DIY Wooden Birdhouse Tutorial: How to Build and Decorate a Birdhouse for Your Garden
Learn how to build a wooden birdhouse from scratch and attract beautiful birds to your garden
Grab more 16,000 amazing woodworking plans please click https://bit.ly/3EkFQuF
Materials:
1. Untreated cedar or pine wood: enough to cut the following pieces: two pieces that are 9 inches by 6 inches for the front and back, two pieces that are 6 inches by 6 inches for the sides, and a piece that is 9 inches by 9 inches for the roof.
2. Nails: choose nails that are the appropriate length for the thickness of the wood.
3. Hammer
4. Sandpaper
5. Water-based paint or stain: make sure to use materials that are safe for the birds.
6. Hanging rope or perch (optional)
Step 1: Measuring and Marking
Before you begin cutting the wood, it's important to measure and mark the correct sizes for each piece of wood. Start by using a pencil and a ruler to mark the wood at the correct lengths and widths. For example, you might cut two pieces of wood that are 9 inches by 6 inches for the front and back, two pieces that are 6 inches by 6 inches for the sides, and a piece that is 9 inches by 9 inches for the roof. Make sure your markings are accurate, as this will ensure that the birdhouse is the correct size and shape.
Step 2: Cutting the Wood
Once you have marked the wood, it's time to cut it. You can use a hand saw or a jigsaw to cut the wood according to your markings. Be sure to follow the lines you marked carefully, and take your time to ensure that each cut is straight and clean. If you're not comfortable with cutting, you can use pre-cut wood pieces that are available at your local hardware store.
Step 3: Sanding the Wood
After you have cut the wood, it's important to smooth down the edges. You can use sandpaper to do this. Begin by sanding the edges of each piece of wood. Make sure to sand in the direction of the grain, as this will prevent splinters and ensure that the wood is smooth to the touch. You can also sand the surfaces of the wood to create a polished look.
Step 4: Assembling the Birdhouse
Once you have cut and sanded the wood, it's time to assemble the birdhouse. Begin by attaching the front and back pieces to the sides. You can do this by using nails and a hammer. Make sure to use nails that are the appropriate length for the thickness of the wood. Then, attach the roof to the top of the birdhouse. Again, use nails and a hammer to secure the roof in place. Make sure the birdhouse is sturdy and secure, so it can withstand the weather and the birds.
Step 5: Painting and Decorating
The last step is to paint and decorate the birdhouse. Use water-based paint or stain to decorate the birdhouse in any color or design you like. You can also add a perch or a hanging rope for extra charm. Make sure to use materials that are safe for the birds, and avoid using any toxic or harmful substances.
With these steps and additional detail, you should be able to follow the construction guide more easily and build your own wooden birdhouse. Good luck with your project!
"Disclosure: This post contains affiliate links, which means I may earn a small commission if you buy something through them, at no extra cost to you. I only recommend products that I trust and love. Thank you for your support!"
#woodenbirdhouse #DIYbirdhouse #birdhousetutorial #birdhousebuilding #woodworking #woodworktutorials #birdwatching #backyardbirds #gardenbirds #woodcraft #tedswoodworking #birdhousetypes #birdhousematerials #birdhousedecorating #DIYwoodworking #woodenprojects #woodworkingforbeginners #birdhousedesign #woodworkingcommunity
-
 4:30:12
Alex Zedra
9 hours agoLIVE! Playing Call of Duty :D
95K9 -
 5:45:36
Film Threat
1 day agoLIVE OSCARS 2025 WATCH PARTY | 97th Academy Awards | Join the Chat!
88.5K8 -
 6:51:13
Akademiks
10 hours agoDay 2/30. Nipsey Hussle Brother Standing on Bizniz? Offset and Cardi Calls it Quits. 50 v Jim Jones?
121K6 -
 5:24:38
EricJohnPizzaArtist
10 hours agoAwesome Sauce PIZZA ART LIVE Ep. #37: Chaos in Roswell!
63.9K5 -
 2:11:29
vivafrei
20 hours agoEp. 253: Zelensky Dress-Down and Geopolitical Fallout! D.C. Court Rules AGAINST Trump Firing & MORE!
209K331 -
 2:13:14
Nerdrotic
13 hours ago $11.24 earnedMegalithomania! with Hugh Newman and Andrew Collins | Forbidden Frontier #092
94.5K11 -
 38:41
38:41
Sarah Westall
15 hours agoHealth Freedom Under Attack, Dr Robert Young Found Guilty on Suspicious Victimless Crime, Matt Hazen
103K9 -
 LIVE
LIVE
Vigilant News Network
14 hours agoDataRepublican Exposes the Shadow Government’s Darkest Secrets - Exclusive Interview | Media Blackout
1,977 watching -
 31:39
31:39
Peter Santenello
1 year agoStories From Vegas' Golden Era 🇺🇸
98.3K24 -
 LIVE
LIVE
The Why Files
17 hours agoLIVE: The Why Files 24/7 Stream n' Chat
1,426 watching