Premium Only Content

PART 2 | CREATING A SCREEN COVER FOR YOUR RAISED GARDEN BED
After I created my raised garden bed, I knew that I was going to need a cover to keep bugs and animals out of my crop. I wanted something simple and cost effective. I elected to use screen instead of bird netting in order to keep some of the smaller bugs out. Note that this will also keep pollinators out of your garden, so it is best to use only if you are planting self pollinating plants.
Materials:
6 - 1x2x8 boards
1 - roll of window screen (not the UV type)
Wood glue
Screws
Cap stapler
1. First I cut two of the boards into 2’ lengths.
2. Create the initial framework by laying four boards into a square shape. Make sure the corners are square before screwing each corner together. I also used some wood glue before screwing together.
3. Repeat step 2 with the additional boards.
4. Using four of the 2’ lengths of board remaining, you will attach each rectangle together at the corners. Secure with wood glue and screws.
5. You should now have a cage made out of the wood boards. Unroll the screen and cover the cage on all sides except for the bottom.
6. Secure the screen using the cap stapler. Trim screen to fit.
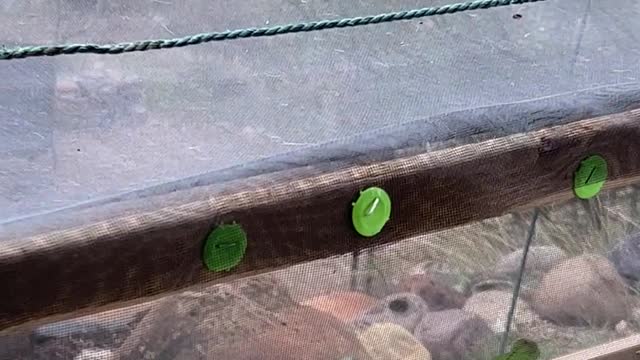
7. Optional- I elected to secure the top to my bed by placing a screw on each side of the garden bed. I then ran a rope/bungee across the top and secured to these screws. I also elected to notch out the screen frame where my irrigation went into the bed to limit any gaps.
This is how I created a simple cover for my bed. It can be customized to fit any raised garden bed and is fairly inexpensive. You can even paint or stain the wood to make it last longer!
Music by Bensound.com
-
 1:03:31
Russell Brand
2 hours agoScripted Opposition? Democrats’ Viral Attack Video Drops as Trump Dominates Congress – SF548
74.3K42 -
 LIVE
LIVE
vivafrei
1 day agoEXCLUSIVE Interview with Pat King, Canada's Political Prisoner
2,116 watching -
 LIVE
LIVE
The Charlie Kirk Show
1 hour agoTrump Speech Aftermath + Pardon Derek? | Kane, Sen. Banks, Collin | 3.5.25
8,254 watching -
 28:48
28:48
Neil McCoy-Ward
1 hour agoThe Trade Wars Have Begun! (Canada, Mexico And China In PANIC MODE...)
5.68K -
 55:52
55:52
The Dan Bongino Show
5 hours agoTrump Rocks The Swamp And Dems Hit Rock Bottom (Ep. 2436) - 03/05/2025
660K987 -
 54:20
54:20
The Rubin Report
3 hours agoStephen A. Smith Destroys ‘The View’s’ Joy Behar’s Narrative w/ Facts in Only 2 Minutes
48.5K43 -
 LIVE
LIVE
Bannons War Room
15 days agoWarRoom Live
6,769 watching -
 2:05:34
Steven Crowder
4 hours agoAmerica is Back: Breaking Down Everything You Missed in Trump's Joint Address
471K305 -
 1:09:24
Timcast
4 hours agoTrump WINS American Approval After Speech, Democrats PANIC As Party COLLAPSING, Dem Voters QUIT
94K92 -
 2:10:02
Matt Kohrs
11 hours agoStocks on Edge, Breaking Market News & Live Trading $1M || The MK Show
83.8K6