Premium Only Content

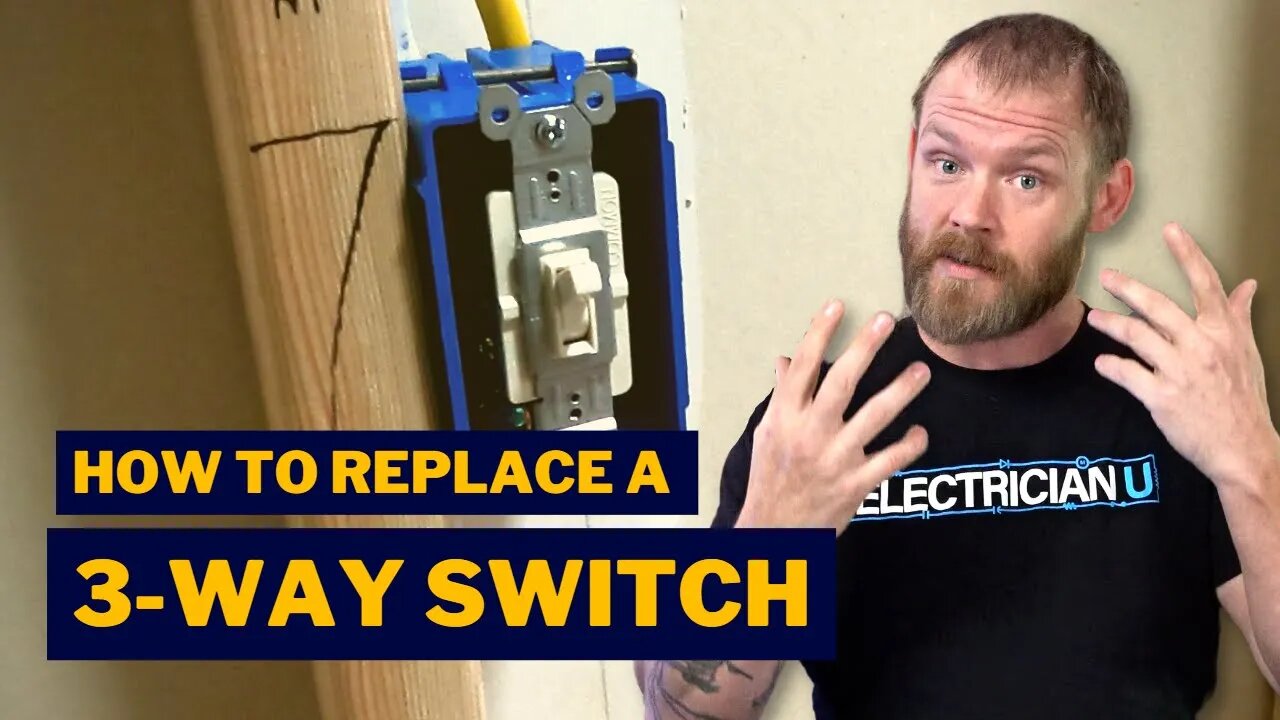
How Do I Replace a 3-Way Switch? Which Wire Goes Where??
Join this channel to get access to perks:
https://www.youtube.com/channel/UCB3jUEyCLRbCw7QED0vnXYg/join
When it comes to a complete house rewire, or even just a simple circuit installation, installing 3-way switching can be difficult for many new electricians (and even some seasoned ones!!) and can be the source of some power issues. In the latest episode of Electrician U, Dustin explains the process so it’s easier to understand.
🤘⚡️MEMBERSHIP⚡️🤘
JOIN ELECTRICIAN U - become a member and get:
FREE Continuing Education every year
FREE Practice Exams
FREE Monthly Video Courses
FREE Weekly Live Instructor-Led Classes
FREE Monthly Educational Newsletter
Premium Members-Only Content
Private Discord Channel
Monthly Members-Only Discord Chats
Sign up here --- https://www.electricianu.com/electrician-u-membership/
🎧🎹MUSIC AND VIDEO:🎹🎧
https://www.facebook.com/descantmv
🎬✍️ART AND ILLUSTRATION:✍️🎬
https://www.daverussoart.com
So, you are doing a remodel and need to put new devices in. but, low and behold, once you are done, the 3-way that WAS working, is now not working, or is working only when the switch is in one position. What happened? Chances are you got the travelers crossed with either the hot incoming wire or the load wire going to the light. Something that is relatively easy to do and pretty common but is easy to understand once you know how a 3-way switch works.
Let’s discuss first some of the items that are on a 3-way switch and how a 3-way switch works. There are 4 screws on a 3-way switch. A green screw, a black (or bronze) colored screw, and 2 brass-colored screws. The green screw is the grounding screw just like any other device. The black screw is either for the incoming hot (at the box where power is being taken from) or the load wire (at the box where power will be taken up to the fixture/fixtures). The other 2 brass-colored screws are for the travelers that link the switches together and allow power to be applied to a single fixture/fixtures from 2 separate locations. The hinging mechanism is attached (on the inside of the switch. You can’t see it unless you take apart the actual switch!) to the black screw and the other side of that hinge plate is touching the terminals of one of the two brass-colored screws, depending on which way you have actuated the switch. A 3-way switch is sending power constantly to one of those 2 brass screws, it just depends on which direction the switch has been placed in.
So, if you are in a remodel situation, the best way is to put the wires on the screws of the new device EXACTLY as you found them on the original. If the previous electrical contractor properly installed the device and it was working, then you are just replacing the wires on the device one for one. The incoming hot/outgoing switch leg goes on the black screw and the 2 travelers going on the brass ones.
There are a couple of tips that can help. First, unless its absolutely necessary, do not pull any more wires out of the box then you have to. The switch box could potentially be used as a junction box for something else and you don’t want any additional wires in the mix to confuse you. Another super good tip is to look at the sheathing on the cables themselves in the box. The cable that has a single black wire is either the incoming hot or the outgoing switch leg, while the cable that has a black and a red together are going to be your travelers. Especially in a residential installation, be mindful of the bare copper ground wire is not touching any of the other terminal screws or you will end up with a ground fault (and probably a lot of sparks!!) Always turn the power OFF when working on a 3-way switch so you do not get shocked. In addition, make sure the screws are tight on the device and provide the necessary torque with a torquing screwdriver (if the torque values are provided with the device).
We hope this has been helpful in understanding the process of installing a 3-way switch. Is there a topic you would like to see discussed on Electrician U? Leave us a comment in the comments section and let us know. Please continue to follow Dustin and Electrician U as we are constantly updating our content to assist our followers in becoming the best electricians that they can be.
-
 0:57
0:57
Electrician U
1 year agoMy FAVORITE Tester for Electricians - What Hand Tools Are YOU Missing
5.5K -
 LIVE
LIVE
Bannons War Room
8 days agoWarRoom Live
19,862 watching -
 LIVE
LIVE
House Committee on Energy and Commerce
4 days agoO&I Hearing: Examining the Biden Administration’s Energy and Environment Spending Push
225 watching -
 LIVE
LIVE
LFA TV
15 hours agoFLUSHING THE TURDS! | LIVE FROM AMERICA 2.26.25 11AM
4,138 watching -
 2:10:18
Matt Kohrs
13 hours agoThe Crypto Crash, Stock Bounce & Breaking News || The MK Show
44.3K3 -
 LIVE
LIVE
Caleb Hammer
1 hour agoFinancial Audit’s Dumbest Couple Ever
253 watching -
 LIVE
LIVE
MYLUNCHBREAK CHANNEL PAGE
1 day agoA Little Season in the East?
497 watching -
 56:48
56:48
VSiNLive
1 hour ago $1.30 earnedA Numbers Game with Gill Alexander | Hour 1
15.7K -
 1:18:45
Dear America
3 hours agoTrump: Russia/Ukraine Peace Deal IMMINENT! + Tucker RESPONDS To Crenshaw!
56K15 -
 45:09
45:09
BonginoReport
5 hours agoNSA Perverts Caught & FIRED (Ep.148) - 02/26/2025
100K114