Premium Only Content

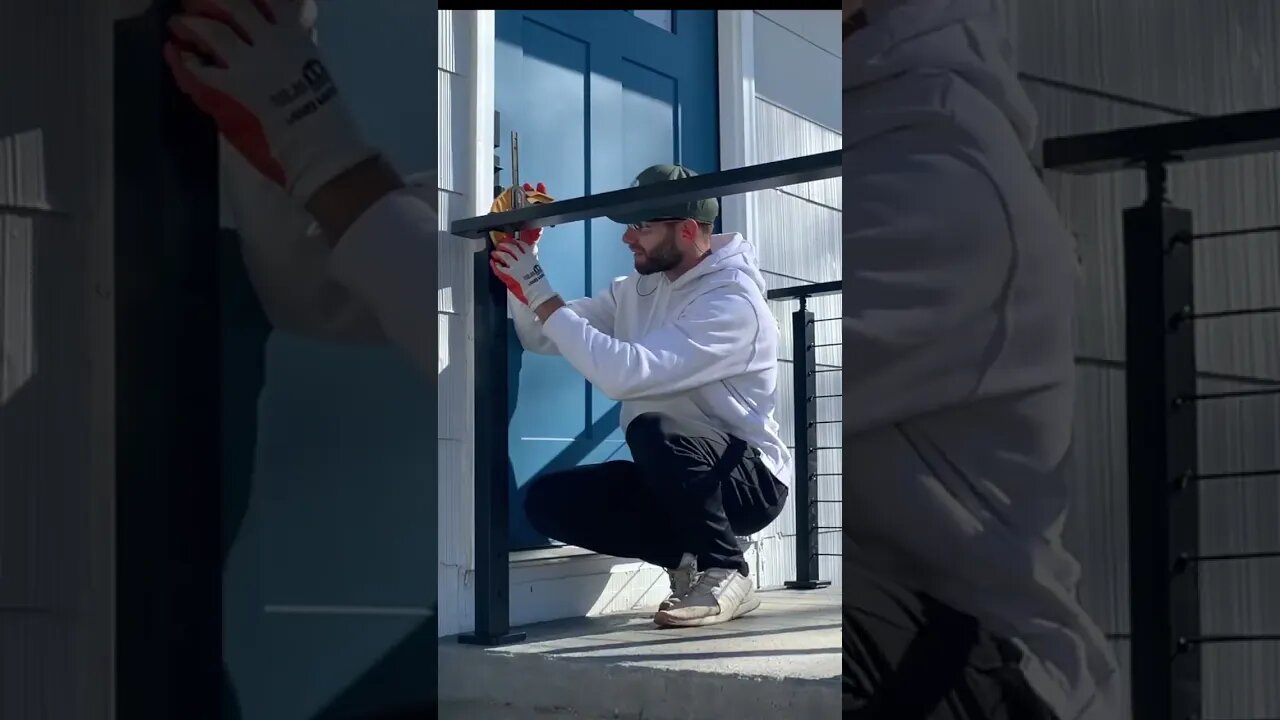
DIY Stair Railing Transformation on Front Porch! (Cable Railing) #diy #construction #howto
Full Installation Video Can be Watched here: https://youtu.be/IVz9cW0GgJg
In this video, you'll learn How to Install a DIY Wire Railing System from start to finish! This installation is for the Muzata BlackCool System and I anchored the railing posts in concrete using anchor bolts.
Muzata's Free Design Service Team can be contacted here: https://bit.ly/3VoypJd
To install the Muzata Wire Railing, you will need the following tools and materials 🛠🧰:
- Muzata BlackCool Railing System: https://bit.ly/3Fr6rr3
- Hammer Drill: https://amzn.to/3H6BYPW
- Carbide Tipped Masonry Bits: https://amzn.to/3B4FTJr
- Anchor Bolts: https://amzn.to/3EY3ywi
- Laser Level: https://amzn.to/3EZJr0x
- Shims: https://amzn.to/3B5gBLd
- Angle Finder: https://amzn.to/3VqPwKw
If you want to learn how to install a wire railing on a deck, you can check out my YouTube video linked here: https://youtu.be/w3pDRgD2y-Y
I also have a "How to install a cable railing on a concrete front porch" Blog Article Linked Here:
https://atimprovements.com/railing-on-concrete-porch/
For even more information on how to install a wire railing, you can check out my Blog article linked here: https://atimprovements.com/cable-railing-everything-you-need-to-know/
The Steps to Installing a Wire Railing System are listed below:
1. Plan out your Wire Railing Project and order materials.
2. Mark you Cable Railing Post Locations
3. Pre-Drill Railing Post Mounting Locations
4. Insert Concrete Expansion Anchors through railing posts and into concrete.
5. Level Railing Posts and Shim as Needed
6. Install the cable wire Railing System
7. Install Cable Wires
8. Tighten Cable Wires as needed for desired tension
9. Test Wire Railing to Ensure Durability and Safety
Be sure to subscribe and hit the notification bell so you don't miss any future videos that are part of the Basement Renovation Series!
Follow me on Instagram: https://www.instagram.com/atimprovements/
Check out my Blog: Atimprovements.com
Subscribe to my YouTube Channel ⬇️ https://www.youtube.com/c/AndrewThronImprovements?sub_confirmation=1
Check out my Website for additional DIY Content: https://atimprovements.com
▬▬▬▬▬▬▬▬▬▬▬▬▬
🎥 MY YOUTUBE GEAR
Camera (Iphone Max): https://amzn.to/3d5HxSo
Microphone (Maono Condenser Mic): https://amzn.to/3RCAb7N
Tripod: https://amzn.to/3Rz5Gj3
Mini Tripod: https://amzn.to/3Rvt2WM
Lighting: https://amzn.to/3d4QdZ5
▬▬▬▬▬▬▬▬▬▬▬▬▬
🛠🧰 TOOLS THAT I USE
Carbide Tipped Drill Bit: https://amzn.to/3S0hdIM
Tapcon Screws: https://amzn.to/3OxEWxh
Drill: https://amzn.to/3JICKkk
Tape Measure: https://amzn.to/3HaTWgE
Circular Saw: https://amzn.to/3BFotC4
Masonry Drill: https://amzn.to/36yP1JW
Level: https://amzn.to/3HowUDn
Hammer: https://amzn.to/35fIpiT
Chalk Line: https://amzn.to/3MwSDg8
Clamps: https://amzn.to/3HLqwpK
Drill: https://amzn.to/3JICKkk
Sawzall: https://amzn.to/3HcdeSI
Circular Saw: https://amzn.to/3BFotC4
Jig saw: https://amzn.to/3I6lcyd
Air Compressor: https://amzn.to/34TatJf
Framing Nailer: https://amzn.to/3JGpBYU
Roofing Nailer: https://amzn.to/3BEAuYF
Orbital Sander: https://amzn.to/34UwlUD
Bar Clamps: https://amzn.to/3JjFrJe
▬▬▬▬▬▬▬▬▬▬▬▬▬
Thank you so much for watching!
*All content on the Andrew Thron Improvements YouTube channel reflects my own opinions. Please seek out guidance of professionally trained and licensed individuals before making any decisions. Links in the description may be affiliate links.
-
 0:59
0:59
Andrew Thron Improvements
1 year agoHow to Plant Grass and Automate the Watering with RainPoint! #diy #howto #grass
153 -
 12:20
12:20
SLS - Street League Skateboarding
1 hour agoYuto Horigome's Top Moments of 2024! All The 9's 🔥
93 -
 LIVE
LIVE
The Charlie Kirk Show
1 hour agoTariffs and Trade Wars + Peace in Ukraine? + SOTU Preview | Carney, Schweizer | 3.4.25
4,857 watching -
 LIVE
LIVE
The Officer Tatum
46 minutes agoLIVE: Leftists RAGE As Trump HALTS Aid to Ukraine + More | Officer Tatum Show Ep 72
479 watching -
 1:26:36
Russell Brand
2 hours agoZelensky’s Misstep: Why It Backfired & What Comes Next – SF547
59.5K30 -
 56:23
56:23
The Dan Bongino Show
4 hours agoThe Momentum Keeps Shifting (Ep. 2435) - 03/04/2025
579K761 -
 DVR
DVR
Benny Johnson
2 hours ago🚨Trump Attorney General Drops a New ‘TRUCKLOAD’ of Epstein Evidence | Kash FIRES FBI Head, Cover-Up
74.2K74 -
 59:30
59:30
The Rubin Report
3 hours agoMarco Rubio Destroys CNN Host’s Narrative with Facts in Only 1 Minute
63.4K54 -
 2:04:21
Steven Crowder
4 hours agoWhat Are Pam Bondi's Real Motivations? What It Means For The Epstein Files
399K234 -
 2:03:49
LFA TV
17 hours agoTARIFFS HAVE BEGUN! | LIVE FROM AMERICA 3.4.25 11AM
36.9K16