Premium Only Content

DIY Basement Wall Framing (How to Finish a Basement Ep. 2)
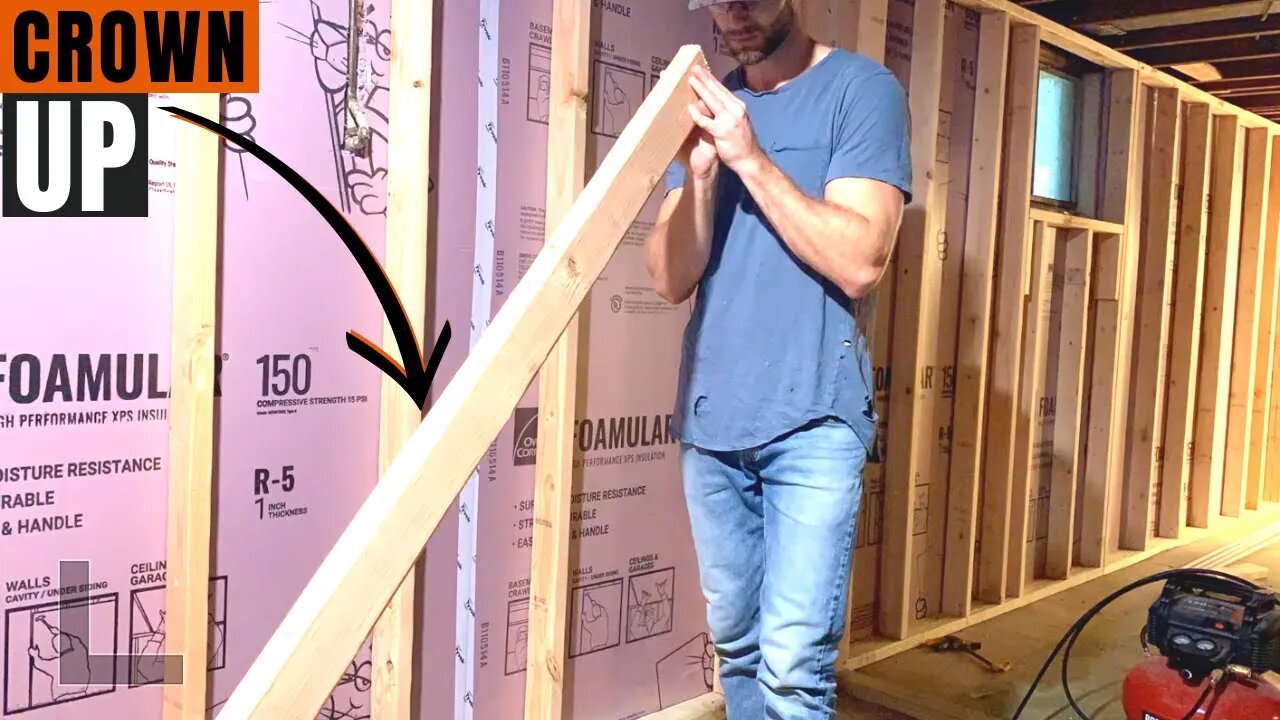
Lean how to frame basement walls with this DIY Basement wall framing tutorial video. In this video, I show you how "I" framed my basement walls - not necessarily how YOU should frame yours.
To Frame Basement Walls, you will need the following tools and materials 🛠🧰:
- 2"x4" Lumber (bottom plate must be pressure treated)
- 6' Level (Straight edge): https://amzn.to/3HowUDn
- Framing Nailer: https://amzn.to/3ViKOOe
- Carbide Tipped Masonry Bit: https://amzn.to/3PJAWf8
- Tapcon Screws: https://amzn.to/3vbwwEg
- Chalk Line: https://amzn.to/3YGqjxK
- Hammer Drill: https://amzn.to/3G8tuqP
To frame a basement wall, you will want to follow these general steps:
1. Position the bottom plate, top plate, and wall studs in place.
2. Mark the stud spacing (16" on center) on the top and bottom plate.
3. Cut your basement wall studs to length and position them in place between the top and bottom plate.
4. Nail the studs to the top and bottom plate using a framing nailer.
5. Lift the wall into place.
6. Secure the bottom plate to the basement floor using tapcon screws.
7. Secure the top plate to the floor joists above using a framing nailer.
For more information on how to DIY basement wall framing, you can read my "how to frame basement walls" blog article linked here:
https://atimprovements.com/how-to-frame-a-basement-wall/
This is Episode 2 in my "How to Finish a Basement" Youtube Series. In this series, I will show you how to finish a basement (DIY) from start to finish. Below are the previous videos in the series:
Episode 1: How to Install Rigid Foam Insulation
https://youtu.be/Qt4mvnVrCpE
Be sure to subscribe and hit the notification bell so you don't miss any future videos that are part of the Basement Renovation Series!
Follow me on Instagram: https://www.instagram.com/atimprovements/
Check out my Blog: Atimprovements.com
Subscribe to my YouTube Channel ⬇️ https://www.youtube.com/c/AndrewThronImprovements?sub_confirmation=1
Check out my Website for additional DIY Content: https://atimprovements.com
▬▬▬▬▬▬▬▬▬▬▬▬▬
🎥 MY YOUTUBE GEAR
Camera (Iphone Max): https://amzn.to/3d5HxSo
Microphone (Maono Condenser Mic): https://amzn.to/3RCAb7N
Tripod: https://amzn.to/3Rz5Gj3
Mini Tripod: https://amzn.to/3Rvt2WM
Lighting: https://amzn.to/3d4QdZ5
▬▬▬▬▬▬▬▬▬▬▬▬▬
🛠🧰 TOOLS THAT I USE
Carbide Tipped Drill Bit: https://amzn.to/3S0hdIM
Tapcon Screws: https://amzn.to/3OxEWxh
Drill: https://amzn.to/3JICKkk
Tape Measure: https://amzn.to/3HaTWgE
Circular Saw: https://amzn.to/3BFotC4
Masonry Drill: https://amzn.to/36yP1JW
Level: https://amzn.to/3HowUDn
Hammer: https://amzn.to/35fIpiT
Chalk Line: https://amzn.to/3MwSDg8
Clamps: https://amzn.to/3HLqwpK
Drill: https://amzn.to/3JICKkk
Sawzall: https://amzn.to/3HcdeSI
Circular Saw: https://amzn.to/3BFotC4
Jig saw: https://amzn.to/3I6lcyd
Air Compressor: https://amzn.to/34TatJf
Framing Nailer: https://amzn.to/3JGpBYU
Roofing Nailer: https://amzn.to/3BEAuYF
Orbital Sander: https://amzn.to/34UwlUD
Bar Clamps: https://amzn.to/3JjFrJe
▬▬▬▬▬▬▬▬▬▬▬▬▬
Thank you so much for watching!
*All content on the Andrew Thron Improvements YouTube channel reflects my own opinions. Please seek out guidance of professionally trained and licensed individuals before making any decisions. Links in the description may be affiliate links.
-
 8:25
8:25
Andrew Thron Improvements
1 year ago $0.12 earnedHow to Install Vinyl Plank Flooring (LVP) on Concrete (DIY LVP Installation in Basement Bathroom)
3821 -
 LIVE
LIVE
Jeff Ahern
1 hour agoMonday Madness with Jeff Ahern (Ding Dong the Witch is Gone!)
370 watching -
 34:56
34:56
Athlete & Artist Show
21 hours ago $1.61 earnedCANADA WINS GOLD AGAIN!!
14K2 -
 15:27
15:27
TSPLY
23 hours agoCNN Forgets President Trump Can Fire Anyone He Wants From The Pentagon
24K15 -
 15:13
15:13
Clownfish TV
20 hours agoBluesky Trusts the Science? Scientists FLEEING X for Bluesky!
27.1K8 -
 29:50
29:50
The Finance Hub
15 hours ago $6.52 earnedBREAKING: TULSI GABBARD JUST DROPPED A MAJOR BOMBSHELL!!!
30.2K25 -
 11:32
11:32
ariellescarcella
17 hours ago"Being A Lady Boy Is Exciting!" (This Dude Has A Kid)
21.9K8 -
 1:03:33
The Dan Bongino Show
1 day agoSunday Special with Mike Benz, Michael Knowles, Rep. Tim Burchett and Rep. Andy Harris - 02/23/25
383K1.2K -
 1:36:21
Sarah Westall
13 hours agoViolence Erupting in the Panama Canal, Identifying Enemy Infiltration, Psyops Ongoing w/ Michael Yon
104K51 -
 1:56:25
Nerdrotic
16 hours ago $20.38 earnedThe Red Pyramid's Hidden Secrets | Forbidden Frontier #091
90.7K16