Premium Only Content

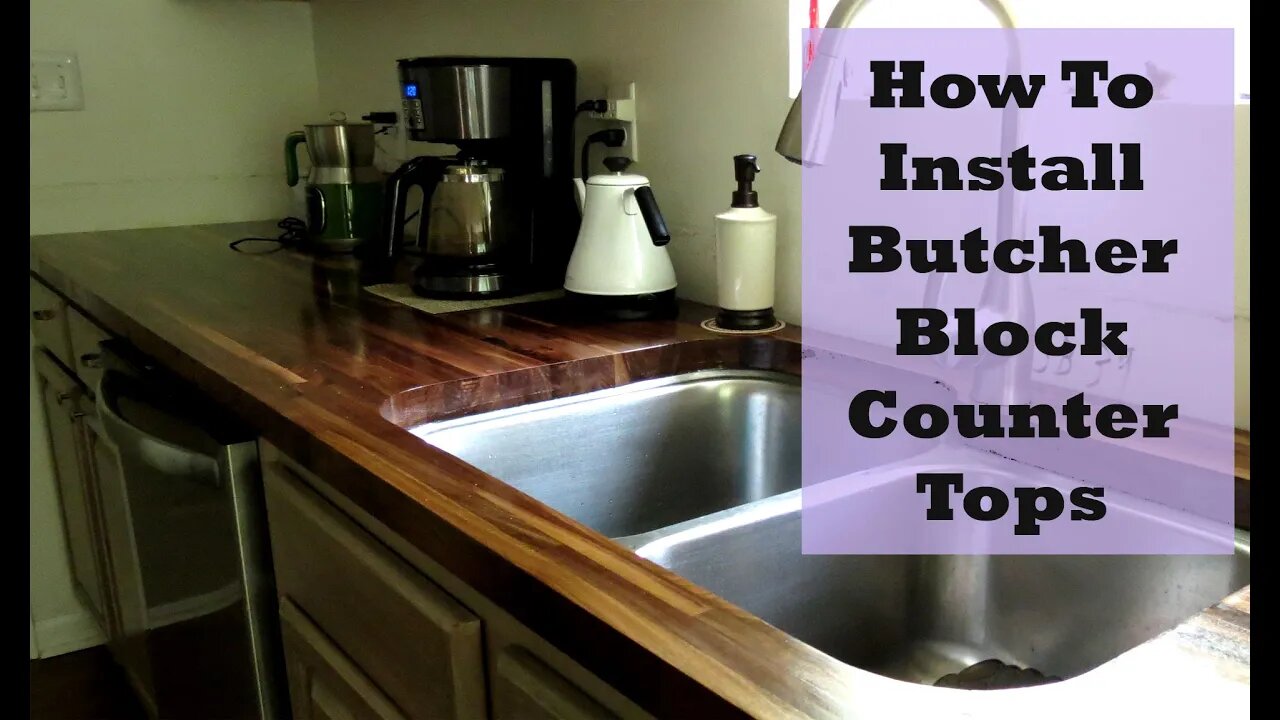
Kitchen Butcher Block Installation - DIY Guide & Money Saving Tips
Step by step DIY guide on how to install a Kitchen Butcher Block Countertop with the cut out for a sink. Scroll down for descriptions of products used.
Leave us a comment to say Hi 💁 then watch our Butcher Block video on how to apply food safe Watco oil for a beautiful finish: https://youtu.be/OXk_oCj6N7c
_______ Video Chapters: ________
0:00 Intro & Removing Old Screws
0:22 Removing Old Countertop
0:57 Metal Plate Over Dishwasher or Not?
2:33 The Top of the Butcher Block
2:53 Tools for Cutting Sink and Faucet Holes
3:14 Trial Run For Fitting The Countertop
5:26 Applying Silicone to Underside of Butcher Block
7:08 Securing Undermount Sink with Brackets & Screws
8:22 Carrying Heavy Butcher Block with Attached Sink
9:42 Removing Front Clips/Brackets and Securing Butcher Block
10:10 Installing Faucet, Using Spacers & Final Thoughts
🛠🛠🛠
We used the following products & tools to complete this DIY project:
60 in. Butcher Block (Walnut) - https://amzn.to/3sfCzqq.
48 in. Butcher Block (Walnut) - https://amzn.to/3MYWbHr
Watco Butcher Block Oil & Finish - https://amzn.to/383eXyy
Cotton Rags & Tack Cloth (on hand) - https://amzn.to/3yhLJqf
Moen Over/Undermount Sink comes with template & clips (reused) - https://amzn.to/3kJO1q5
Cordless Ryobi Jig Saw (on hand)- https://amzn.to/3M4rdh3
Diablo Bi-Metal Jig Saw Blades (ultra-fine) - https://amzn.to/3MVeBbO
5/8 in. Drill Bit (on hand) - https://amzn.to/3wdZljQ
1 1/2 in. Hole Saw (on hand) - https://amzn.to/3yfwrCk
Painter Tape (on hand) - https://amzn.to/37imZmy
Mold Armor 100% Silicone - https://www.lowes.com/pd/Mold-Armor-10-fl-oz-Clear-Silicone-Caulk/5001941737
Caulk Gun (on hand)- https://amzn.to/3FhYt1q
1 1/2 in. Spax #10 Construction Screws - https://amzn.to/3yxO8gP
Butcher Block countertop installation is not for the faint of heart. 🤓
Wooden countertops are less expensive than stone, marble or quartz. But, the measurements have to be precise, you will need a few must-have tools and it is a pretty time consuming DIY project. Dry time between the four Watco applications is 6 hours minimum and 24 hours before first use.
Let us know if you have any questions!
Thank you so much for watching our #KitchenDIY #ButcherBlock video!
❤ Nick & Silke
-
 8:38:13
Dr Disrespect
10 hours ago🔴LIVE - DR DISRESPECT - MARVEL RIVALS - I AM GROOT
168K38 -
 LIVE
LIVE
Fresh and Fit
2 hours agoResponding To Druski Skit, Tate Case Win, Fuentes Assassination Attempt & MORE
5,748 watching -
 4:13:32
Nerdrotic
5 hours ago $25.74 earnedSUPERMAN Drops, Disney Cuts WOKENESS? Hollywood DEI is DEAD | Friday Night Tights 333 Little Platoon
89.3K26 -

The StoneZONE with Roger Stone
2 hours agoTrump Should Sue Billionaire Governor JB Pritzker for Calling Him a Rapist | The StoneZONE
3.41K1 -
 DVR
DVR
Adam Does Movies
2 hours agoMore Reboots + A Good Netflix Movie + Disney Live-Action Rant - LIVE
5.69K -
 36:28
36:28
TheTapeLibrary
11 hours agoThe Disturbing True Horror of the Hexham Heads
6.48K2 -
 LIVE
LIVE
JdaDelete
21 hours ago $0.06 earnedHalo MCC with the Rumble Spartans 💥
127 watching -
 LIVE
LIVE
Edge of Wonder
5 hours agoChristmas Mandela Effects, UFO Drone Updates & Holiday Government Shake-Ups
382 watching -
 1:37:36
Mally_Mouse
4 hours agoLet's Play!! -- Friends Friday!
20.1K -
 57:45
57:45
LFA TV
1 day agoObama’s Fake World Comes Crashing Down | Trumpet Daily 12.20.24 7PM EST
15.8K6