Premium Only Content

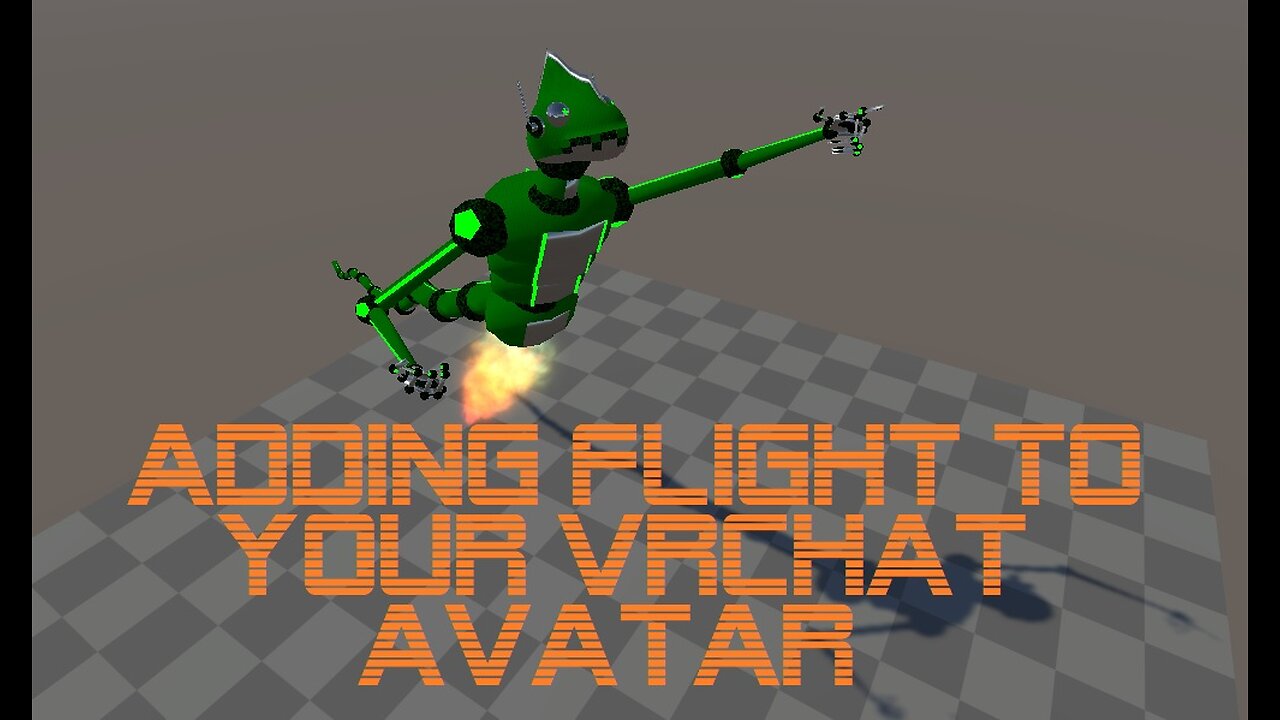
How to add Flight to your VRChat avatar.
Toolbox's Workshop Discord channel: https://discord.gg/aFpkcXxra7
I take commissions and provide tutoring! Post what you're after in the relevant subchannels of the Discord channel linked above to get an estimate.
Script:
This video will demonstrate how to add flight to your VRChat avatar. Unfortunately, due to flight's dependence on the Box Collider component, this will not work for Quest avatars.
My own avatar uses multiple flight modes, but for this tutorial, I will be focusing on what I call "Look Mode", which allows you to fly in the direction you're looking.
We'll start by setting up the flight platform.
>Right-click your avatar in the Hierarchy.
>3D Object.
>Cube.
This essentially creates a floor for you to walk on, which will follow you wherever you go, allowing you to walk on air.
>Click the Cube.
>Rename it "Flight Platform", or whatever else you'd like to name it. This step is only for making it more organized.
>In the "Transform" component, set its Scale to 2 on the X axis, 0.1 on the Y axis, and 3 on the Z axis.
That takes care of the functional aspect of the flight platform. We also need to tackle the visuals.
>In the Inspector, locate the Mesh Renderer.
>Click the three dots at the top right of the component.
>Remove Component.
>Locate the Cube (Mesh Filter) component. Remove that as well.
By removing this component, you ensure that the Flight Platform is never drawn on screen, making it invisible.
>In the Inspector, click Add Component.
>Search for and click "Rotation Constraint".
>Under Sources, click the plus button to add a source.
>In the Hierarchy, expand your avatar's Armature until you reach the Head bone.
>>This will typically follow the order of Armature - Hips - Spine - Chest - Neck - Head, but your avatar may use different names or even use a different armature structure altogether.
>Once the Head is visible in the Hierarchy, click the Flight Platform again.
>Drag the Head from the Armature in the Hierarchy, into the Rotation Constraint's Source field in the Inspector.
>Click the "Activate" button.
This locks the Flight Platform into pointing the same direction as the head, allowing you to control its tilt based on where your head is pointing.
However, leaving the Rotation Constraint as-is will result in wild spinning when tilting your head side-to-side. Let's fix that.
>Expand the Constraint Settings.
>Next to "Freeze Rotation", deselect the Y and Z axes.
This ensures that tilting your head side to side will not affect your flight.
>Lastly, turn off the Flight Platform object, so that it isn't on by default.
That's all you need for object setup. Now, we have to put together the animation.
>Click the "Project" tab.
>Navigate to whatever folder houses your animations. This is purely for organization purposes; if you don't mind the clutter, this could be placed in the main Assets folder if you want.
>Right-click in Unity's file explorer.
>Create.
>Animation.
>Name this animation "Flight".
>Drag the Flight animation onto your avatar in the Hierarchy.
>Double-click the Flight animation to bring up the Animation window.
>>If you haven't already, I recommend dragging the Animation tab down next to the Project and Console tabs for ease of access.
>Click your avatar in the Hierarchy to make it the focus of your Animation window.
>Make sure the Flight animation is selected in the Animation drop-down list.
>Click the Record button at the top left of the Animation window.
>Click the Flight Platform in the Hierarchy.
>Activate the object.
>Click the Preview button to stop recording and stop previewing.
That's all for the animation file. Most of the functionality of flight is contained in the Flight Platform's Box Collider and Rotation Constraint, so all the animation has to do is activate the object.
Now for the coding. We need to locate the avatar's FX Animator. If you don't know where to find that, try this:
>Click your avatar in the Hierarchy.
>Scroll down in the Inspector until you find the Playable Layers section of your VRC Avatar Descriptor.
>Double-click the field next to "FX" to bring its Animator up in the Animator tab.
With the Animator open, we can get started on the coding.
>Click the Parameters tab at the top left.
>Click the plus button to add a new parameter.
>Click "Bool".
>Rename this new Bool Parameter to "Flight".
>Click the Layers tab.
>Click the plus button to add a new layer.
>Name this layer "Flight", or however you want to name it for organization.
>Click the gear icon for this new layer, and set its Weight to 1. Without this step, the game won't even try to use the code in this layer.
>In the grid to the right, right-click, select "Create State", "Empty".
>Click the New State, and use the Inspector on the right to rename it to "Off".
>Create another New State.
>Name this one "On".
>In the "Motion" field, click the circle icon to bring up a list of the animation files in the project.
>Search for "Flight" and add it. If you named your animation differently, search for whatever you named it.
>Right-click the "Off" state, Make Transition, to "On."
>Do the same for "On" to "Off".
>Click the white arrow leading from "Off" to "On".
>Expand the Settings.
>Deselect "Has Exit Time", and set "Transition Duration" to 0. These changes ensure that there is no delay when you activate Flight.
>Under the Conditions box, click the plus button.
>Select "Flight" in the left drop-down menu.
>Make sure that "True" is selected for the right drop-down menu.
>At the top of the Inspector, right-click the Transition that says "Off" to "On", and Copy Transition Parameters. We can paste these settings into the next Transition to save some time.
>Back in the grid, click the arrow leading from "On" to "Off".
>Right-click the Transition in the Inspector, and select "Paste Both".
>In the Conditions box, change "True" to "False".
That's all the Animator stuff done. Now we just need to set up the menu and parameters, and we'll be finished. We'll start with parameters.
>Click your avatar in the Hierarchy.
>Scroll down to the "Expressions" subsection in the Inspector.
>Double-click the field to the right of Parameters.
>Click the "Add" button.
>Change the new Parameter's name to "Flight".
>Set the Type to Bool.
>Click your avatar in the Hierarchy again.
>Scroll down to the "Expressions" subsection of the Inspector.
>Double-click the field to the right of Menu.
>Click "Add Control".
>Expand "New Control" if needed.
>Rename this control to "Flight".
>Set its type to "Toggle" using the drop-down menu.
>Set its Parameter to "Flight" using the drop-down menu.
With that, your flight should be fully functional. Go to the VRChat SDK Control Panel, and hit Build & Test to try it out in-game.
Once you turn on Flight, you'll need to jump to start flying, and move forward to fly where you're looking. Flight essentially involves walking on invisible terrain, so just move around the world as you usually would otherwise. Depending on the world's physics settings, you may be able to jump while looking downwards to catapult yourself forward at high speed, though since this is world-dependent, it's not a guarantee.
-
 1:04:47
Candace Show Podcast
10 hours agoBecoming Brigitte: The Epilogue
93.5K124 -
 3:43:51
Alex Zedra
5 hours agoLIVE! Come Play WoT with me!
26.6K6 -
 LIVE
LIVE
Drew Hernandez
13 hours agoDOGE EXPOSES $2 BILLION SCHEME LINKED TO STACEY ABRAMS?!
2,638 watching -
 1:27:59
Kim Iversen
8 hours agoRFK Jr Declares No More Cheetos on Welfare? | Yale Confirms Long Covid Is Actually Vaccine Injury!
72K97 -
 1:08:43
The Charlie Kirk Show
5 hours agoTHOUGHTCRIME Ep. 74 — Charlie's Campus Return? Robo-Butlers? Garden of American Heroes?
67.8K16 -
 1:09:53
Slightly Offensive
6 hours ago $5.29 earnedIs the US Headed for MORE WAR Under TRUMP? | Guest: Scott Horton
36.8K9 -
 58:29
58:29
The StoneZONE with Roger Stone
5 hours agoRoger Stone Hails Confirmation of Kash Patel, Trashes Schiff for Attacks On Patel | The StoneZONE
43.8K13 -
 48:44
48:44
Man in America
11 hours agoA MASSIVE Global Financial Reset Is Coming—Are You Ready?
32.9K6 -
 1:15:42
Precision Rifle Network
1 day agoS4E5 Guns & Grub - The Best Rifle Under $2000
48.6K6 -
 1:02:54
Glenn Greenwald
1 day agoSouth Korean Economist Ha-Joon Chang on the Economic World Order, Trump's Tariffs, China & More | SYSTEM UPDATE #410
77.4K45