Premium Only Content

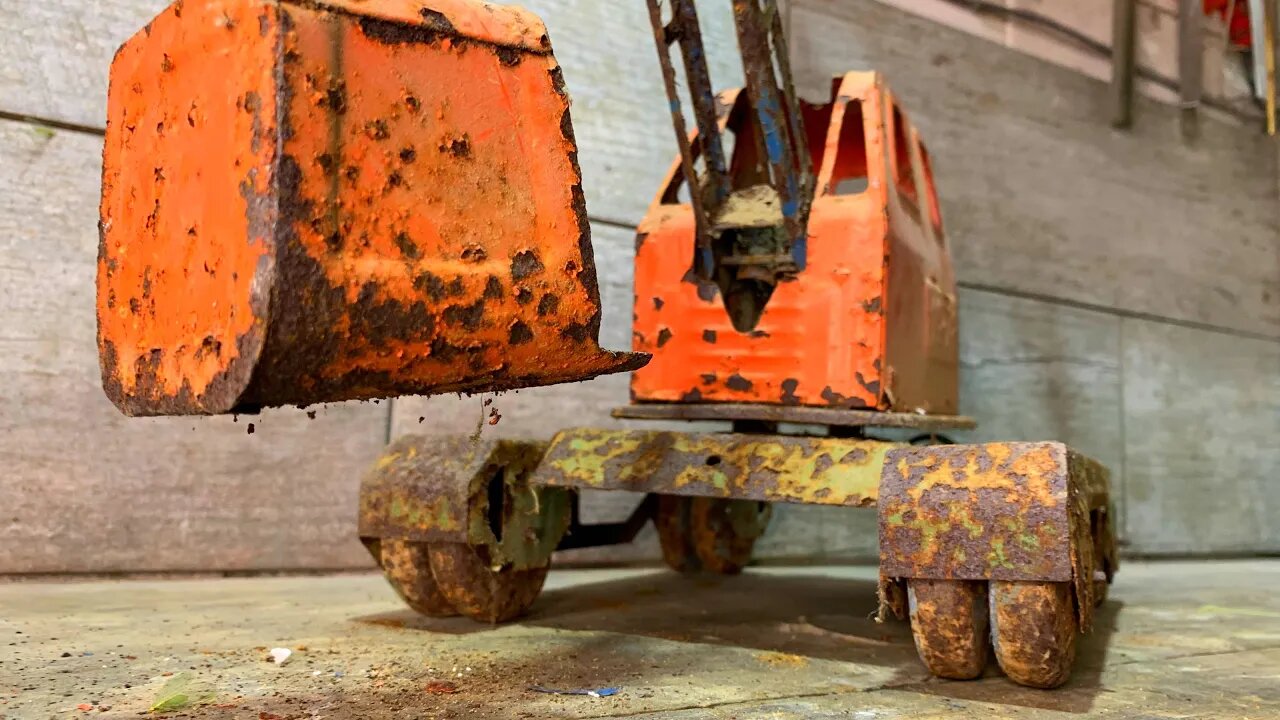
Full Restoration of a Large and Very Rusty toy excavator. I was Amazed by the Result!!!
For me it was difficult!
Indeed, the restoration of this toy took me more than two weeks! Difficulties began already with the electrolysis process. In a common electrolysis bath, some parts did not want to give in to electrolysis, the current simply flowed through those parts where the resistance was less. Therefore, I had to clean individual parts from rust using electrolysis one at a time (I’ll tell you a secret, this didn’t make it into the video, but I lost my nerve and I bought myself a sandblasting chamber, I will definitely show it in the next video).
After electrolysis, there was a long process of manual cleaning of rust residues using a small metal brush.
Next came the spackling process. I did it for the first time. When you watch this process from the guys on other channels, everything seems so simple and fast, but in reality everything is not at all like that.
Firstly, the putty, when mixed with a hardener, turns into a stone after 4-5 minutes. And I had to do a hundred small batches in order to have time to apply all the putty.
Secondly, if you put putty on the part a little more than required, then it will take much more time to polish all the excess.
Thirdly, a thicker layer of putty does not guarantee that this putty will not shrink when cured. And in any case, you will have to apply the putty again.
At the beginning of the work, I was full of enthusiasm, and I was sure that I could handle sanding by hand (how wrong I was!). MANUAL GRINDING OF PUTTY IS A REAL EVIL!!! My nerves were exhausted, my psyche was undermined, and only then did I go to the store for a vibration grinder.
Then there was the boring process of applying several layers of primer.
Wet sanding calmed my nerves and brought peace to my soul. It is really mesmerizing when all the flaws from puttying and priming are erased before your eyes.
On some parts, it was necessary to grind to the metal in order to level the surface (then it is necessary to re-prime the plane of the part)
At intervals, while the soil was drying up on the parts of the toy, I was engaged in turning work. Factory axles are disposable and cannot be re-mounted on a toy, so I machined the axles of the wheels from nails. I processed the nail heads with a turning cutter so that they were even and beautiful, then cut the thread.
Next was a pleasant process - painting in finishing colors. I chose exactly those shades that correspond to the time of manufacture of this toy (1978). The Soviet Union did not have a wide variety of colors. My combination turned out great!
During assembly, between all the rubbing parts, I inserted spacers made of plastic washers so that the paint would not wear off and the mechanisms would work more "softly".
Well, that's all!
With all the manual sanding and cleaning, this job took me more than two weeks, but this is a great experience for me, I learned a lot, and my main lesson is that you need to use modern material processing methods, not manual labor)) ))
I don’t know for whom I wrote all this, it seems to me that no one reads my descriptions for the video)))
If you read it and smiled a couple of times, let me know), I'll be glad that writing this text was not a waste of time.
All the peaceful sky above your head!!!
Sincerely, Max.
Full restoration
Amazed
#restoration
#awesomerestoration
#asmr
-
 3:49:06
Alex Zedra
11 hours agoLIVE! New Game | Nuclear Nightmare
60.5K7 -
 25:08
25:08
MYLUNCHBREAK CHANNEL PAGE
1 day agoUnder The Necropolis - Pt 2
209K57 -
 1:45:59
Spittin' Chiclets
1 day agoCanadian Chokejob - Game Notes Live From Chicago - 12.28.2024
216K31 -
 9:18
9:18
Space Ice
20 hours agoThe Guyver - Alien Bug Suits, Exploding Dragons, & Mark Hamill - Weirdest Movie Ever
121K23 -
 12:46
12:46
RealReaper
2 days ago $1.22 earnedMufasa is a Soulless Cash Grab
79.9K8 -
 5:14:24
FusedAegisTV
21 hours agoWelcome to The King of Iron Fist Tournament! \\ TEKKEN 8 Stream #1
139K3 -
 DVR
DVR
Bannons War Room
1 year agoWarRoom Live
101M -
 5:42:36
FreshandFit
1 day agoLive X Censorship For Opposing Immigration?!
250K121 -
 1:08:16
Tactical Advisor
22 hours agoNEW Budget Glocks | Vault Room Live Stream 011
131K9 -
 16:30
16:30
SNEAKO
1 day agoNO FRIENDS IN THE INDUSTRY.
165K72