Premium Only Content

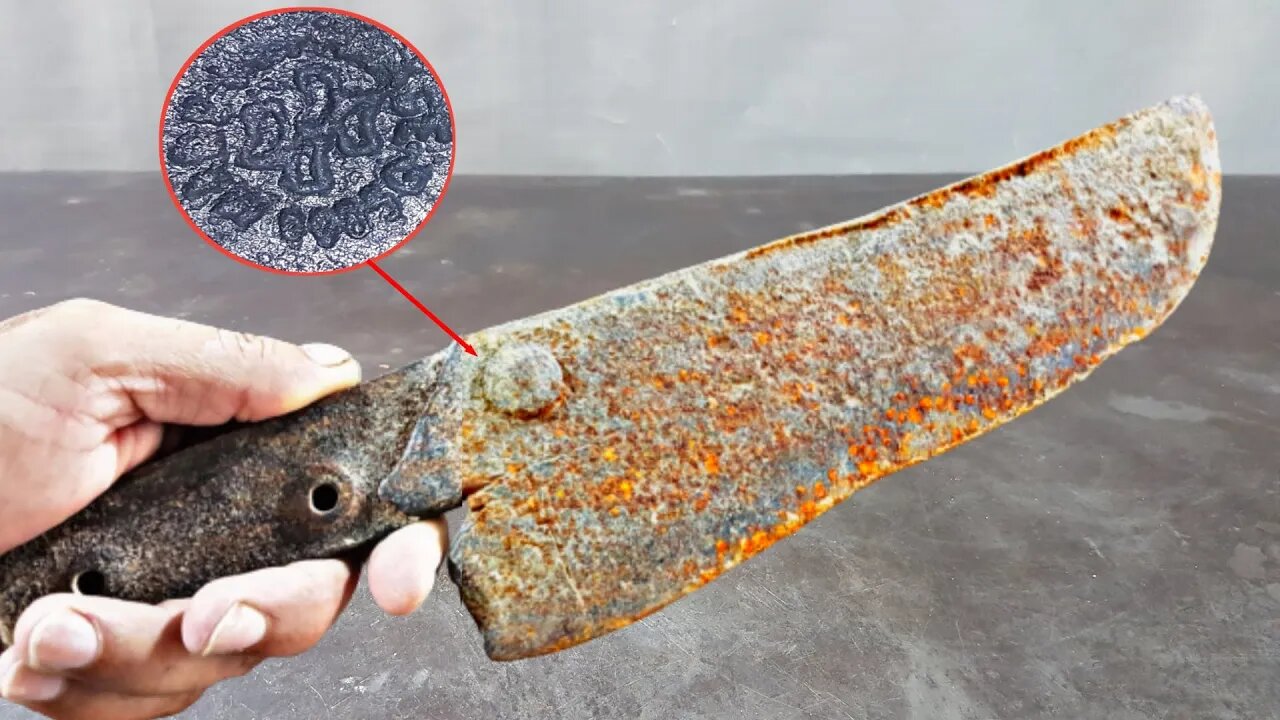
1936s antique rusty cleaver restoration ASMR restoration
🔥To buy Cleaver : (#ad) https://amzn.to/3FUB5az
🔥My famous rust remover: https://amzn.to/3wEKhM4
🔥Skrewdriver for guns: https://amzn.to/3yFQnyy
🔥 The famous bluing kit: https://amzn.to/3lrbXit
🔥 Punch set for pins: https://amzn.to/3Mv3o22
🔥 My camera: https://amzn.to/39XyTmP
🙏 Do you want to support me? you can buy me an Italian espresso ☕ from here https://www.buymeacoffee.com/RestorationCirc ❤
https://mytoolcircle.com/
Hey friends! In this video, I restored a very unique antique rusty cleaver! This is a great way to keep an antique cleaver in good working order.
I found this unique piece from a butcher shop When I went to the meat store to buy some raw meat for the final test of my last video Meat Grinder. ( https://youtu.be/FMsA2WBL1TA ). The butcher said that we have a cleaver of grandfather's time. The logo on the cleaver was visible, although some of its words were visible, such as 1930 or 1936. And the way the handle was attached to the cleaver hole with the help of a big bolt. This testifies to the fact that Clever is very old because in modern times it is not so expensive. If it breaks, any butcher will buy a new one and will not make such a repair. To be honest, a lot of people liked the last video on Clever ( https://youtu.be/sFBoAoWzuQg ) and some people objected to why I made a plastic handle. So I choose to restore this second cleaver to remove their objection. It was rusty and had a lot of holes in it towards the cleaver, and the bevel was completely crooked. first of all, I remove the rust with Electrolysis. And after one hour, wash with water and brush the wire. The original handle was held in a cleaver hole with the help of a big bolt. I didn't really like the shape of the blade and handle and I also didn't want to bolt the handle again. So I decided to make a more ergonomic nice looking overall shape. Next, I started with the grinding wheel to grind away all the pitting from the rust. then I move to the belt sander for a smooth finish, after all the scratches were gone from the belt sander Then it was time for hand sanding. I started with 120 grit, and I moved on with 240. Then 400, 1000 and 1200 at the end. I then had a fine enough surface to be able to mirror polish it on the cotton buffing wheel using three types of compounds white, blue, and red. It took quite some time to do that, but the end result came out absolutely amazing. Most of the steps are easy, but the sharpening of the blade can be dangerous. This video is not a how-to on blade sharpening, so please obtain guidance from a professional before attempting that step.
Moving on to the handle. I decided to make a three-part handle two pieces of iron and black oak, Then it was time to give the handle a final sanding with 120, 240, 400, and 1000 grit and apply wooden polish and an extra clear coat (#ad) https://amzn.to/38tGsS6 for the final touch.
I had a lot of fun working on this cleaver. Wheel grinding was time-consuming and difficult on the handle, but I was pleased with the ultimate product, which I believe speaks for itself.
I hope you like my work and the video.
Support this channel with Like, Share, Subscribe, and Shopping - AMAZON (#ad) https://amzn.to/3MeRpFE
Affiliate Disclaimer: Any links you click might be affiliate links. I might be paid a commission for any purchases made via the links in this video.
Subscribe if you like this Video
That way, you'll never miss a video on this my channel
#restoration #rusty #cleaver #repair #asmrrestoration 1936s antique rusty cleaver restoration asmr restoration
-
 30:56
30:56
Old Is Gold
1 month agoVintage WWII FEUERHAND NR.323 Lantern Restoration
711 -
 LIVE
LIVE
Dr Disrespect
3 hours ago🔴LIVE - DR DISRESPECT - TRIPLE THREAT CHALLENGE - NOBODY STOPS US
4,194 watching -
 LIVE
LIVE
The Quartering
1 hour agoTrump NUKES The Deepstate, BANS Trans In Military & Terminates Dr. Fauci Protections!
5,504 watching -
 DVR
DVR
Benny Johnson
3 hours ago🚨BREAKING: Trump Live Right Now in North Carolina Disaster Area! Real Leader | Trump Visiting LA
46.2K78 -
 58:14
58:14
Winston Marshall
2 hours agoHollywood Insider SPEAKS OUT On Woke Hollywood & Trump’s A-List Allies | Andrew Klavan
16.2K13 -
 DVR
DVR
Game On!
2 hours agoTom Brady's BIG GAMBLE! Pete Carroll new head coach of the Raiders! | Crick's Corner
50 -
 17:26
17:26
Tactical Advisor
3 hours agoEverything New From Primary Arms 2025
2552 -
 1:55:32
The Charlie Kirk Show
2 hours agoThe Greatest Pro-Life President + AMA | Gingrich | 1.24.2025
51.8K20 -
 LIVE
LIVE
The Dana Show with Dana Loesch
2 hours agoThe Dana Show LIVE From SHOT Show | Day 3
998 watching -
 1:02:50
The Dan Bongino Show
4 hours agoAre You Tired Of Winning Yet? (Ep. 2408) - 01/24/2025
574K1.37K