Premium Only Content

Plugging MV #15 Advanced Lighting Effects by Khas | Humanity's Alternative Sight
Discord Invite: https://discord.gg/hVVdm5Z
'Plugging MV' is a series where I showcase interesting (community-made) plugins for RPG Maker MV, as I discover them myself, while going through a list of 4000+ plugins.
#RPGMaker #Plugin #Cutscene
PLUGINS:
KhasAdvancedLighting.js
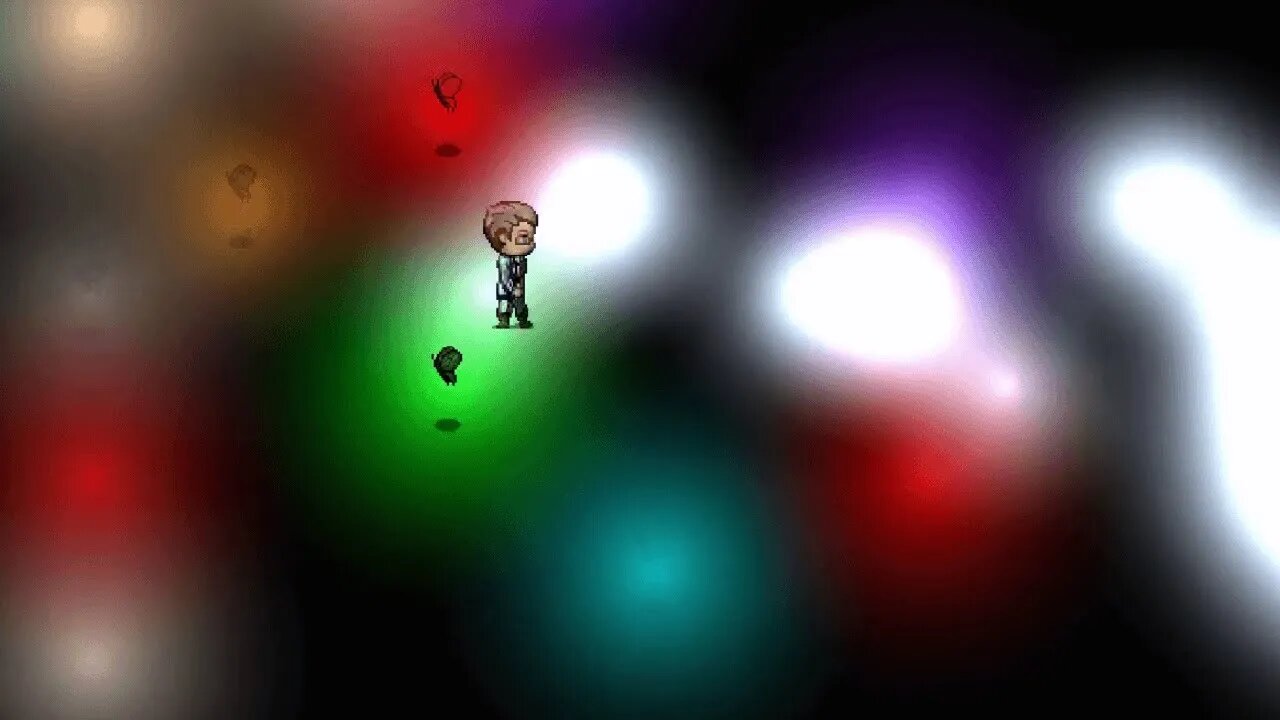
Allows us to apply lighting effects to our maps.(Specifically on tiles, regions, events, & the player.)
This plugin basically tints your map black, and allows you to smoothly lit up certain tiles in colorful ways.
SUPPLEMANTARY PLUGINS:
KhasCore.js
KhasGraphics.js
(You need to install these before KhasAdvancedLighting.js for the lighting effects to work.)
Programmer: Khas
Tested on Version: 1.5.1
NOTE: My application of this plugin, in this video has been... weird. For more 'normal' use cases, you can skim through the following two gameplay videos.
https://youtu.be/kr41gE3ytKY
https://youtu.be/-vTDGZ07cNw
(In both of these, I have used this lighting plugin in pretty much every single map.)
DOWNLOAD LINKS:
Direct Download:
https://mega.nz/#F!ZcYUkC7S!hyCQej47BxowGyC7xBtPYA
Go into folder "Advanced Lighting", and then click "3.1 (version 3 demo here!)"
...from here, download the .rar file. You will find all 3 plugin files inside the js folder in the .rar
Also, inside that .rar, inside "img" folder, you will find another folder named "Lights". Copy that folder into your game's img folder.
Post Link:
http://arcthunder.blogspot.com/p/tutorial-advanced-lighting.html
(Complete Tutorial by Khas.)
HOW TO:
It's best if you go through the tutorial linked above. But just to get you immediately started, I'll help you out a bit.
After installing the three plugins in the following order:
KhasCore.js
KhasGraphics.js
KhasAdvancedLighting.js
(and after placing the 'Lights' folder in 'img'...)
Open up settings of any one of your map, and paste the following in it's note:
[ambient_light 20]
[region_light 129 tungsten]
[region_light 130 broken]
[region_light 131 candle]
[region_light 132 fluorescent]
[region_light 133 cyan_torch]
[region_light 134 green_torch]
[region_light 135 blue_torch]
[region_light 136 purple_torch]
[region_light 137 yellow_torch]
[region_light 138 white_torch]
[region_light 139 red_torch]
[region_light 140 red]
[region_light 141 yellow]
[region_light 142 purple]
[region_light 143 cyan]
[region_light 144 blue]
[region_light 145 green]
[region_light 146 pink]
[region_light 145 white]
These numbers (from 129 to 145) are region IDs, each with a specific lighting effect. Pick any number from these (let's take 142 as example,) and using the tile brush, draw region ID 142 on some part of your map.
Then run your game, and all your map will be dark, except the part where you drew with region ID 142.
That should get you started. For complete tutorial, read the following:
http://arcthunder.blogspot.com/p/tutorial-advanced-lighting.html
SOME APPLICATIONS:
1- Make your maps look fancier with better lighting. (You can have lighting on par with professionally done parallax maps.)
2- Create cool effects by using these lighting effects with events & terrain tags. (And by creating custom light effects, and making custom images.)
3- Limited Sight: Having only a limited circle around the player lit up. (Can be used for horror games, or generally in maps where there isn't any source of light.)
4- Create switch on/off effect for in-house lights.
5- Create a flashlight effect.
(What other applications do you guys have in mind?)
BGMs Used in Video: 'Dark Horizon' & 'New Frontiers' by Ross Bugden
https://youtu.be/D77_c94R9Go
https://youtu.be/4NGZQqPpDMw
YouTube Playlist:
https://www.youtube.com/playlist?list=PLalOiJrVKsOc_2PXrkigg3EpL3pvcljQO
(Would be ABSOLUTELY awesome as you subscribe to the YouTube channel.)
-
 1:20:31
Awaken With JP
4 hours agoWiping Hard Drives, Hire a Criminal Defense Lawyer - LIES Ep 79
54.4K32 -
 1:02:23
In The Litter Box w/ Jewels & Catturd
21 hours agoDEI Kills | In the Litter Box w/ Jewels & Catturd – Ep. 744 – 2/18/2025
65.3K35 -
 LIVE
LIVE
Game On!
2 hours agoBreaking Down COLLEGE BASKETBALL BETTING LINES Like a Pro!
78 watching -

John Crump Live
5 hours agoMexico Backs Cartels By Threatening To Designate Gun Manufactures As Terrorist!
4.64K3 -
![[Ep 611] DOGE On The March! | Guest Sam Anthony - [your]NEWS | Seditious Dems | Ukraine](https://1a-1791.com/video/fwe1/97/s8/1/q/C/C/3/qCC3x.0kob-small-Ep-611-DOGE-On-The-March-Gu.jpg) LIVE
LIVE
The Nunn Report - w/ Dan Nunn
2 hours ago[Ep 611] DOGE On The March! | Guest Sam Anthony - [your]NEWS | Seditious Dems | Ukraine
337 watching -
 1:00:56
The Tom Renz Show
9 hours agoThe War On DOGE Is ALSO A War On The Economy
18.8K5 -
 1:30:16
Steve-O's Wild Ride! Podcast
5 days ago $1.26 earnedAri Shaffir Exposes The Dark Side of Podcasting - Wild Ride #252
25.8K3 -
 1:56:29
The Quartering
6 hours agoAirplane FLIPS and CRASHES, Sean Duffy Slams Pete Buttigieg, & What Happened with Patriarchy Hannah
78K36 -
 37:08
37:08
Standpoint with Gabe Groisman
23 hours agoDOGE The UK?! With Liz Truss
41.3K15 -
 56:39
56:39
SLS - Street League Skateboarding
6 days agoHIGHEST SCORING KNOCKOUT ROUND OF ALL TIME! Felipe Gustavo, Dashawn Jordan, Filipe Mota & more...
30.6K2