Premium Only Content

Honeywell Home PROSIXFOB: Adding to a PROA7 or PROA7PLUS
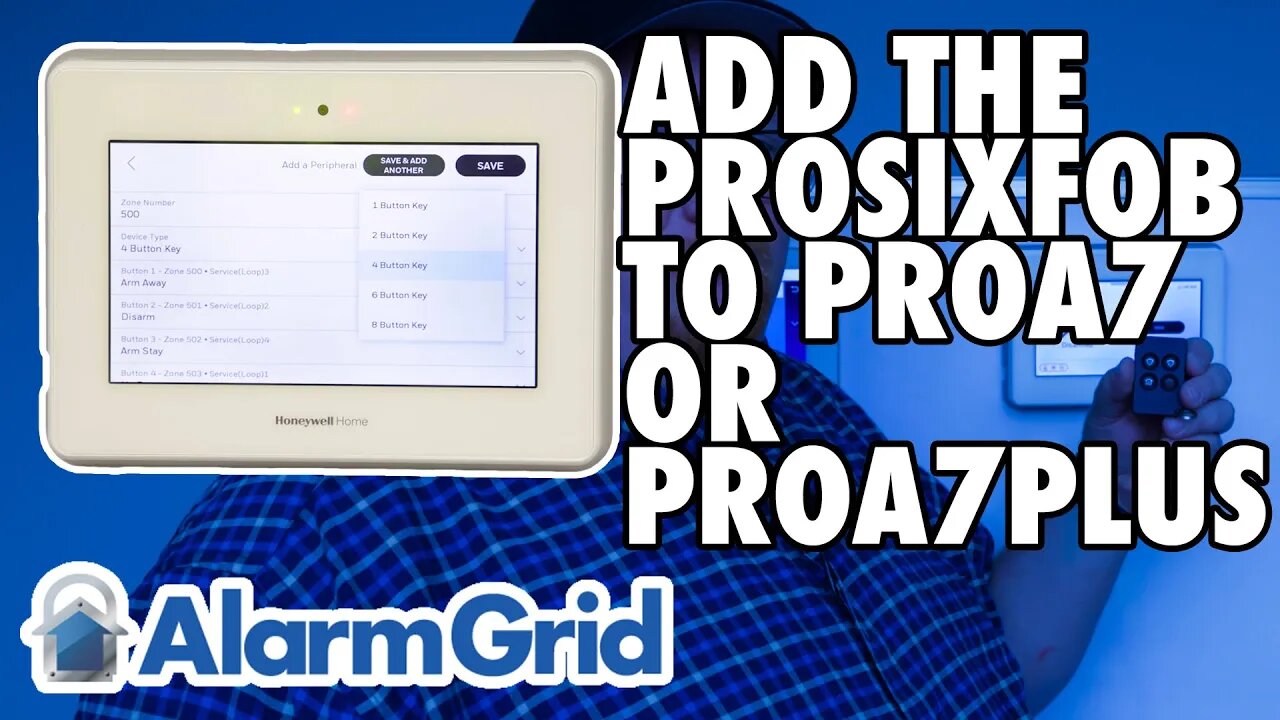
In this video, Darrell from Alarm Grid explains how to enroll a PROSIXFOB with a PROA7 or PROA7PLUS alarm panel. This same procedure will also work on the Resideo PROA7PLUSC and PROA7C.
First, enter panel programming by selecting the hamburger Menu icon at the bottom-center of the panel screen. Scroll down to Tools, then enter the Installer Code. The default is 4112. Choose Programming, then Peripherals. Press the + icon in the upper-right of the screen. This puts the panel into Learn Mode.
Simultaneously, press the top two buttons on the PROSIXFOB or SIXFOB. The two green LEDs should begin to flash rapidly back and forth. If this does not happen, it means that the PROSIXFOB or SIXFOB has already been paired with a panel. In order to use it, it will need to first be unpaired or defaulted. The PROSIXFOB and SIXFOB can only be defaulted within the first 100 transmissions after being paired with a system.
https://www.alarmgrid.com/documents/defaulting-six-sixa-and-prosix-series-devices-dated-2019
Since this is an encrypted device, the pairing process can take a little time, so be patient. Once the panel has been paired with the fob, the information for default fob programming can be seen, along with the first zone number assigned to the fob, and the MAC address. Verify that the MAC address you are dealing with matches the MAC address for the fob.
One important programming step is assigning the key fob to a user code. By default, there is a Master code programmed for the panel, and by default, the fob will be assigned to the Master code. You can assign each fob to a unique user so that when the fob is used, the event log will show that the user armed or disarmed the system. In order to assign a fob to a user, you must program the user code BEFORE you program the fob. Otherwise, that user will not be available to choose from the drop-down when programming the key fob.
By default, "4-button" fob is the device type selected and is the programming shown in this video. A SIXFOB or PROSIXFOB can use up to eight (8) different functions using both single-button presses, and combination button presses. The default programming for the bottom-right button (the red exclamation mark) is "No Response". If you would like to use this button as a panic, you can change the programming accordingly. The other three buttons are programmed for Disarm (upper-right), Away (upper-left) and Stay (lower-left). After all the programming is completed, be sure to press "Save". You can then exit programming and test the PROSIXFOB or SIXFOB to be sure it's working properly.
-
 3:39
3:39
Alarm Grid Home Security DIY Videos
1 year agoQolsys IQ Panel 4: Using Dual Path Monitoring
21 -
 54:28
54:28
LFA TV
1 day agoUnjust Man | TRUMPET DAILY 2.27.25 7PM
19.7K2 -
 20:10
20:10
CartierFamily
7 hours agoAndrew Schulz DESTROYS Charlamagne’s WOKE Meltdown on DOGE & Elon Musk!
36.8K46 -
 1:36:39
Redacted News
5 hours agoBOMBSHELL EPSTEIN SH*T SHOW JUST DROPPED ON WASHINGTON, WHAT IS THIS? | Redacted w Clayton Morris
145K242 -
 2:03:31
Revenge of the Cis
7 hours agoEpisode 1453: Fat & Fit
48.6K8 -
 2:38:12
The White House
7 hours agoPresident Trump Holds a Press Conference with Prime Minister Keir Starmer of the United Kingdom
160K60 -
 1:01:04
In The Litter Box w/ Jewels & Catturd
1 day agoDrain the Swamp! | In the Litter Box w/ Jewels & Catturd – Ep. 751 – 2/27/2025
91.7K35 -
 1:11:24
Dr. Drew
8 hours agoNEW: Cardiac Arrest In Healthy Young People After mRNA w/ Nicolas Hulscher – Ask Dr. Drew
72.7K35 -
 4:24:53
Right Side Broadcasting Network
12 hours agoLIVE REPLAY: President Trump and UK Prime Minister Starmer Meet and Hold a Press Conference 2/27/25
166K47 -
 2:12:33
Adam Carolla
2 days agoKamala Harris vs. Trump Wildfire Response + Jillian Michaels on Motherhood/Ayahuasca & Sperm Donors!
57.1K21