Premium Only Content

How To Crochet; Magic Ring/Circle
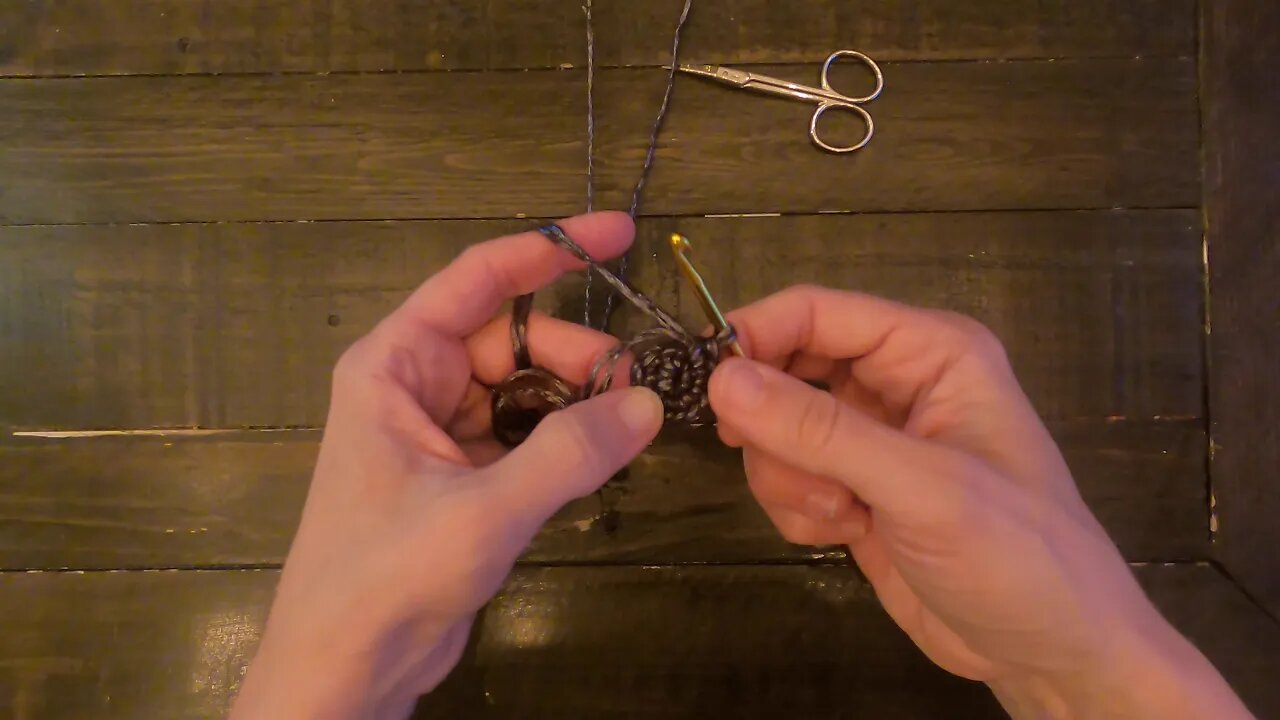
Learn how to crochet the magic ring/circle stitch. A magic ring is a technique for creating a tightly closed center when you’re crocheting in the round. Usually, when a pattern calls for crocheting in the round, you are asked to chain a few stitches, create a loop and then work the first round in that loop. But the loop leaves a hole in the center of your round. Enter the magic ring. This stitch is perfect for the top of hats, amigurumi projects, or anything that needs a circle at the beginning of the project.
Begin by placing the tail of the yarn across the top of your index finger, then loop the yarn once around your four fingers. Place the working yarn (the yarn that’s closest to your skein) behind the tail. The working yarn will fall to the right and the tail will fall to the left.
Next, loosen the loop from your fingers, keeping the working yarn behind the yarn tail. Pinch the loop with your fingers where the two yarns cross. Use the crochet hook to pull up a loop from the working yarn and slip a stitch to secure the loop.
Chain 1.
Single crochet around both the ring and tail yarn. Single crochet the number of stitches needed for the first round of the pattern. A good number of stitches is 6 for many patterns.
Pull the tail yarn to close the ring.
Slip stitch into the first stitch to join the round.
As you work the next round don't forget to weave in the yarn tail as securely as you can.
Shop for some of our favorite products with us: https://www.amazon.com/ideas/amzn1.account.AHFXU5A4FOKBFOB4ICXHF3ISHDVQ/2GIXYE5H0XIJ4/ref=as_li_ss_tl?type=explore&ref=idea_cp_vl_ov_d&linkCode=ll2&tag=wp.life-20&linkId=e4e8a829befe41e504c3f1d769ea8a5b&language=en_US
-
 1:53
1:53
Wisdom Preserved
1 year agoPizza/Calzone Dough
109 -
 DVR
DVR
TheAlecLaceShow
4 hours agoGuests: Senator Steve Daines & FBI Whistleblower Steve Friend | Biden Farewell | The Alec Lace Show
3.1K -
 1:00:12
The Dan Bongino Show
5 hours agoBiden Is Destroying The Country On His Way Out (Ep. 2402) - 01/16/2025
553K1.14K -
 2:14:50
Steven Crowder
5 hours agoCeasefire in Gaza: How Trump's Influence Has Already Transformed the World
336K160 -
 2:03:50
LFA TV
19 hours agoTRUMP GETS THE CREDIT! | LIVE FROM AMERICA 1.16.25 11am
50.8K23 -
 31:14
31:14
Grant Stinchfield
2 hours ago $0.56 earnedBig Pharma Advertising Has Nothing to do With Selling Drugs... Instead It's a Pay Off!
10.1K1 -
 1:30:16
The Shannon Joy Show
6 hours ago🔥🔥Medical Kidnap In TEXAS! Mom Rachelle Suzanne: Medical City Hospital Persecuting Her Unvaccinated Son! 🔥🔥
19.4K1 -
 57:55
57:55
The Rubin Report
3 hours agoThe Unexpected Details of the Israel-Hamas Ceasefire & Who Should Take Credit?
79.6K35 -
 2:44:30
Benny Johnson
4 hours ago🚨 WATCH Pam Bondi BREAK Adam Schiff like a Pencil | Trump Confirmations Are On FIRE
103K69 -
 2:21:20
Ron DeSantis
5 hours agoGovernor Ron DeSantis Makes an Announcement in Orlando
167K5