Premium Only Content

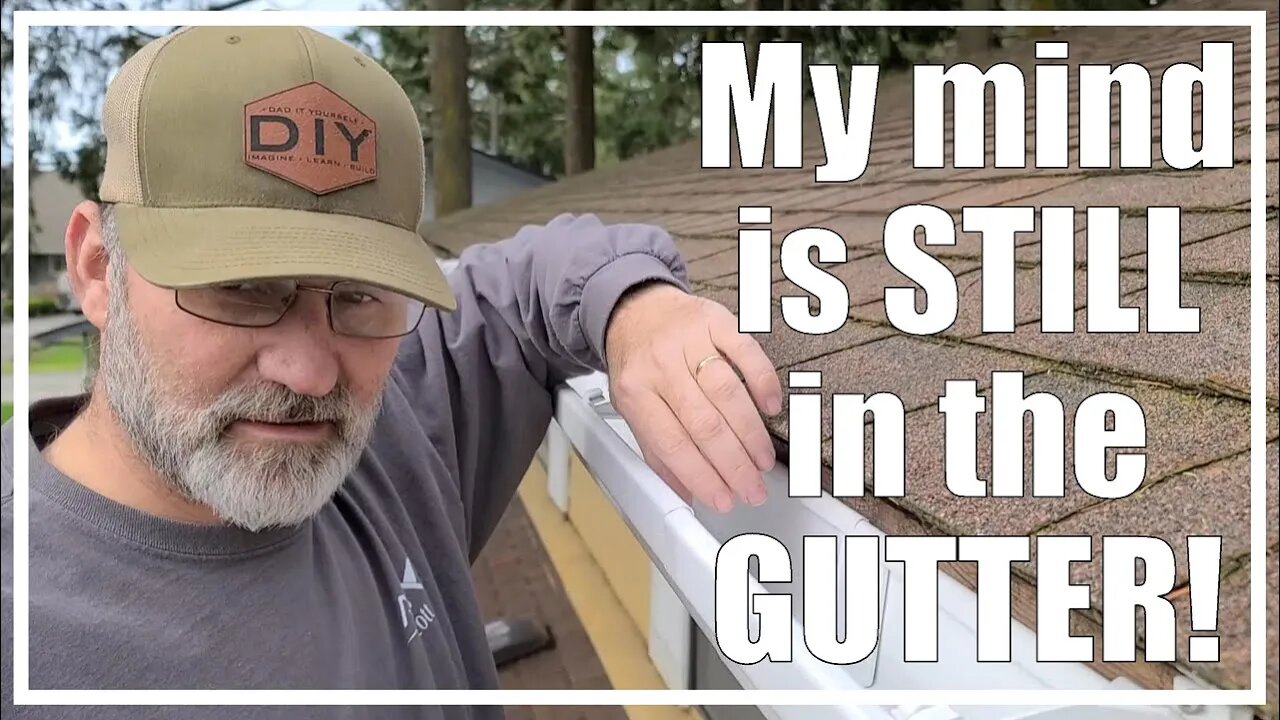
AMERIMAX Vinyl Gutter with Leaf Guards! | Homeowner DIY EASY! | 2021/16
I was recently hired to replace the gutters and down spouts on a house that I had done some previously installed vinyl gutters in a different location. The existing gutters on the second story had been ripped off in a wind storm by a falling tree limb, while no gutter system can usually survive this, the gutters that were there were in need of replacement anyways. I will let you in on a little secret, I have only installed gutters a couple of times before, metal or vinyl. Amerimax, the manufacturer, has a great website with instructional videos, and downloadable forms for itemized parts listing and installation. It was a breeze!
Because the tree had done all the work, there was no removal necessary. This run is over 40 feet long, in fact its 45 feet. So that requires two downspouts, the previous installation had two, so I stuck with the plan!
I located the down spout “trap” at the lowest point on the eaves, so that I could slope to that point. Then installed the new down spout. The gutters come in 10’ sections with easy snap together “joiners”. There were three full 10 foot sections, and then a seven foot section on each end from the gutter to the downspout trap. A small section from the roof end to the downspout was put in place with an easy to install end cap. Everything snapped together, and mounted to the fascia with stainless steel screws through slip on mounting hangers. These hangers are installed 12” from the ends and on 24” centers normally. My configuration has them installed 10” from the ends and on 20” centers. This will help with the snow load that we sometimes received. The manufacturer recommends 18” centers in heavier snow climates.
After everything was installed on the fascia, I installed the down spouts, they emptied out onto the lower roof, one had to be turned 90 degrees and not to shoot water across and under the shingles. the other was a normal installation.
Finally it was onto the gutter guard. These were relatively easy to install it just a matter of slipping one edge under the shingles, and clipping the front edge to the gutter brackets. In between each segment of screen, you cut a small notch in the front of the guard, so they will overlap and support the ends. A few of the brackets needed to be moved to provide even support of the guards, in a future installation I will probably add more brackets for support, they are relatively inexpensive and will provide for a more rigid system. I'm still on the fence about these. We will see how they hold up.
**This post contains affiliate links and I will be compensated if you make a purchase after clicking on my links.**
All of the items I needed were off the shelf from Home Depot, here is a link to the products I used: https://homedepot.sjv.io/4e53e1
If you use my link, they can pull your order and set it aside for pick-up, or delivery to your home or job site! It’s that easy!
Thanks for watching! Don’t forget to subscribe at www.youtube.com/DadItYourselfDIY?sub_...
The tools I use: https://www.dadityourselfdiy.com/2019/06/power-tools-i-use.html
Support Dad It Yourself by shopping on Amazon: https://www.amazon.com/shop/dadityourselfdiy
Support Dad It Yourself by shopping at Home Depot: homedepot.sjv.io/LENzO
#Amerimax #VinylGutters #HomeDepot #Gutters #DadItYourselfDIY
-
 3:10
3:10
Dad It Yourself DIY
3 months agoMaking the Ryobi Vac-Attack Leaf Vacuum and Mulcher Better!
321 -
 LIVE
LIVE
Alex Zedra
3 hours agoLIVE! New Game | R.E.P.O
661 watching -
 1:52:42
Kim Iversen
5 hours ago💰 CHA-CHING! 💰 Trump Unveils Big Money Plans For Gaza AND America
35.2K83 -
 1:05:28
Flyover Conservatives
17 hours agoUkraine’s Dirty Secret: The Christian Persecution No One Wants to Talk About - Alex Newman | FOC Show
23.5K9 -
 2:00:20
Glenn Greenwald
9 hours agoThe View from Moscow: Key Russian Analyst Aleksandr Dugin on Trump, Ukraine, Russia, and Globalism | SYSTEM UPDATE #414
70K25 -
 1:10:55
Donald Trump Jr.
7 hours agoBREAKING NEWS: My Father Revokes Biden-Maduro Oil License, LIVE with Maria Corina Machado | Triggered Ep.220
162K177 -
 1:25:29
Sarah Westall
5 hours agoX-Files True History, Project Blue Beam, Cabal Faction War w/ Former FBI Agent John DeSouza
57.4K5 -
 7:03:49
Dr Disrespect
12 hours ago🔴LIVE - DR DISRESPECT - NEW PC VS. DELTA FORCE - MAX SETTINGS
146K26 -
 49:04
49:04
Lights, Camera, Barstool
1 day agoIs The Monkey The Worst Movie Of The Year?? + Amazon Gets Bond
57.4K4 -
 24:19
24:19
Adam Carolla
1 day agoDiddy’s Legal Drama Escalates, Smuggler Caught Hiding WHAT? + Philly Eagles & The White House #news
74.3K13